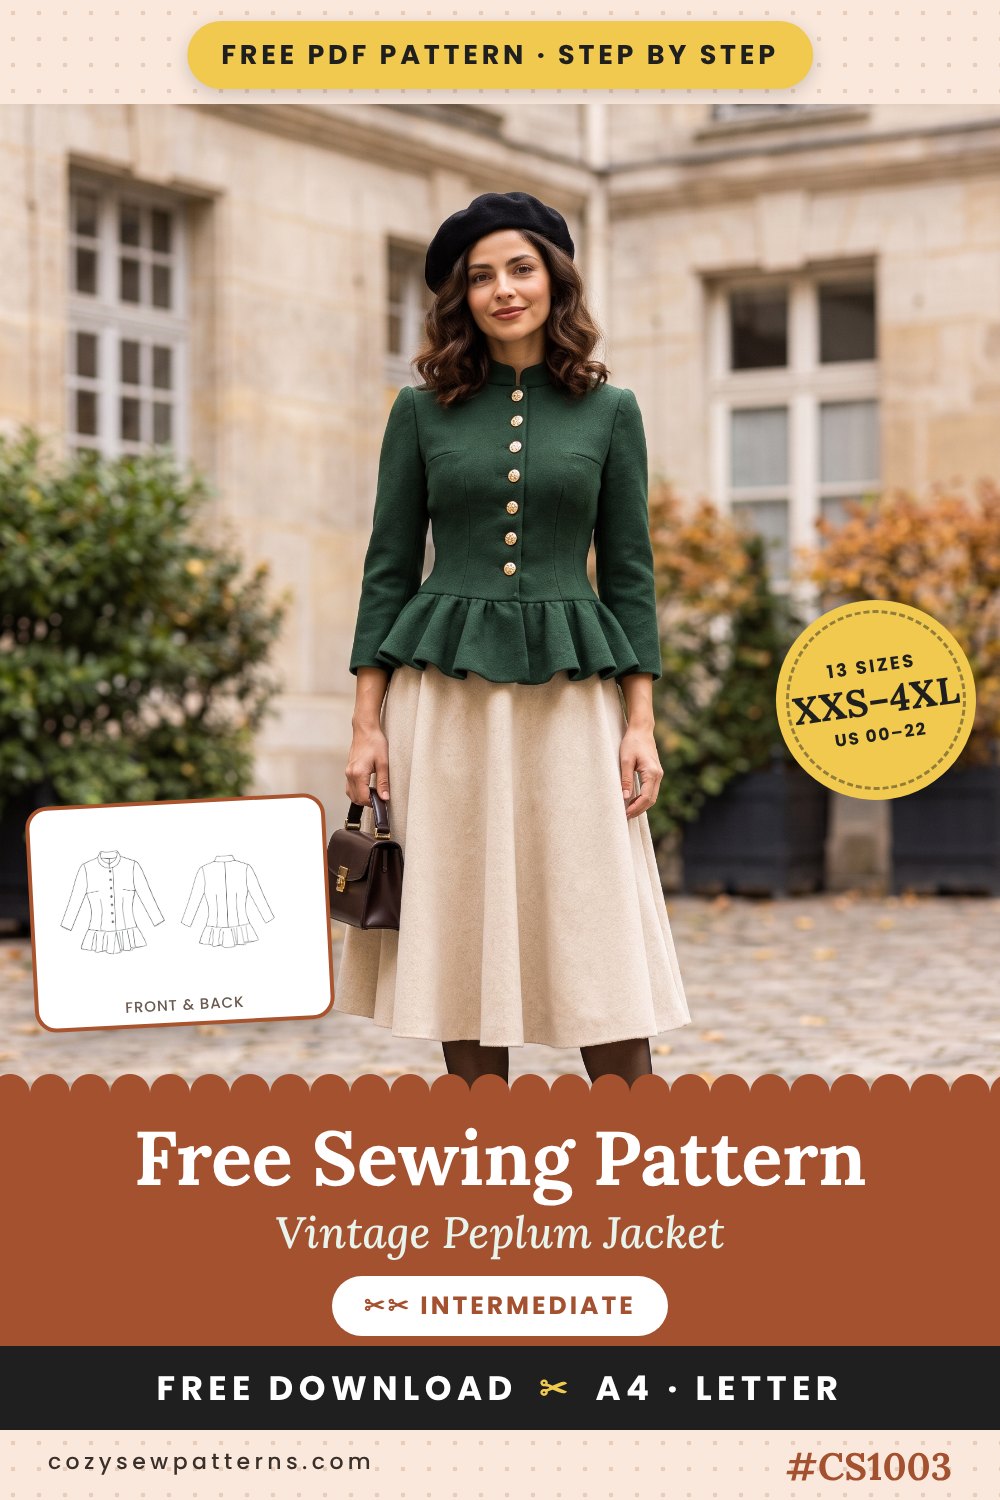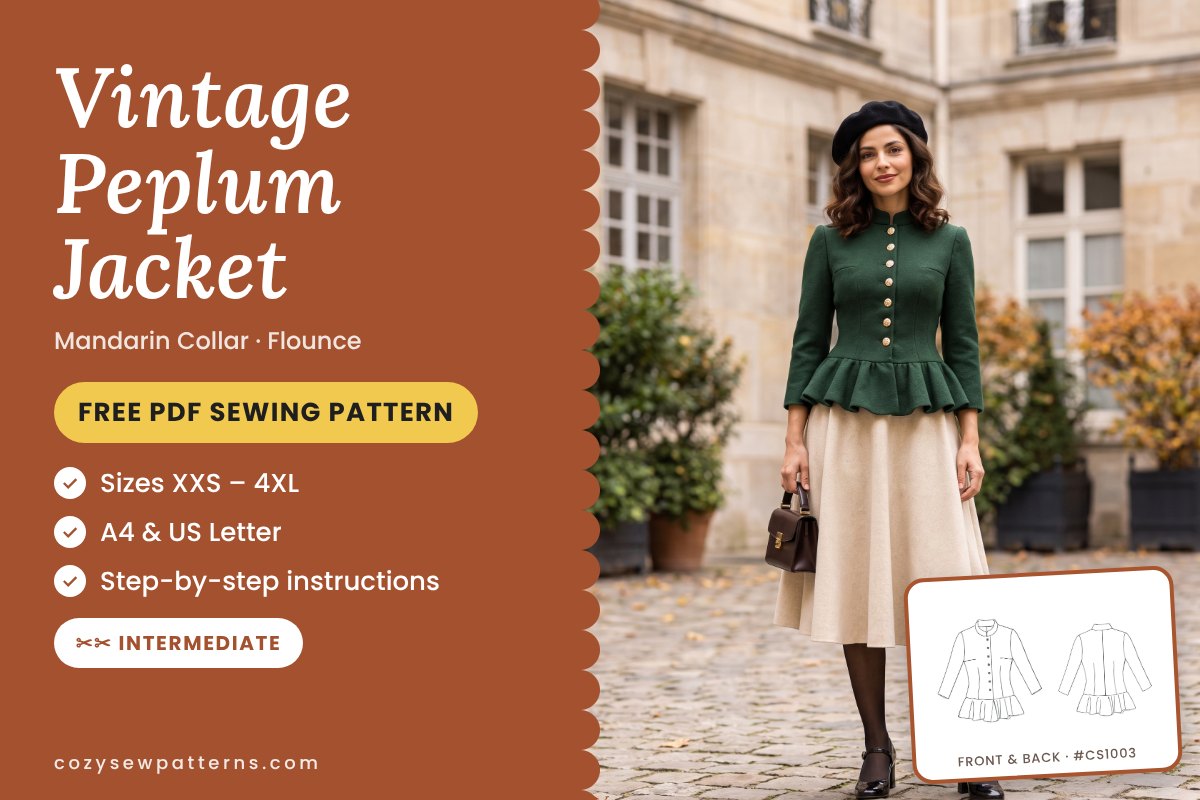
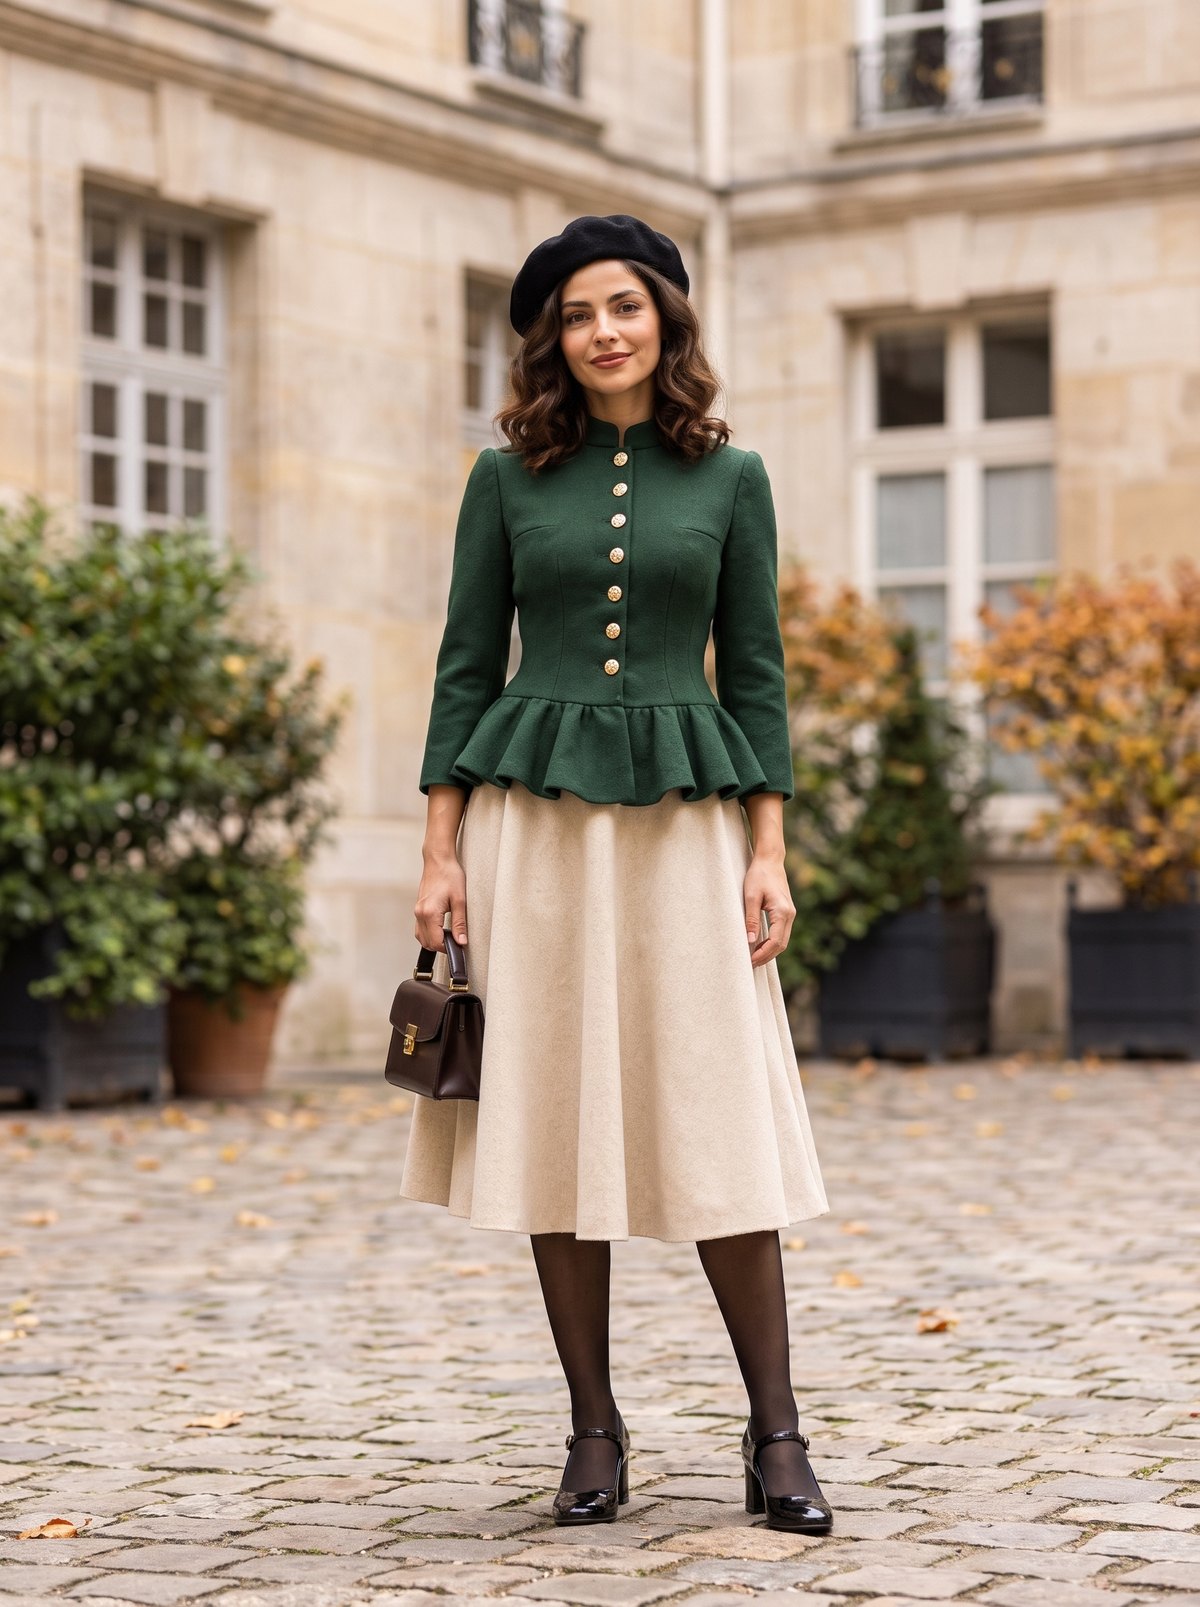
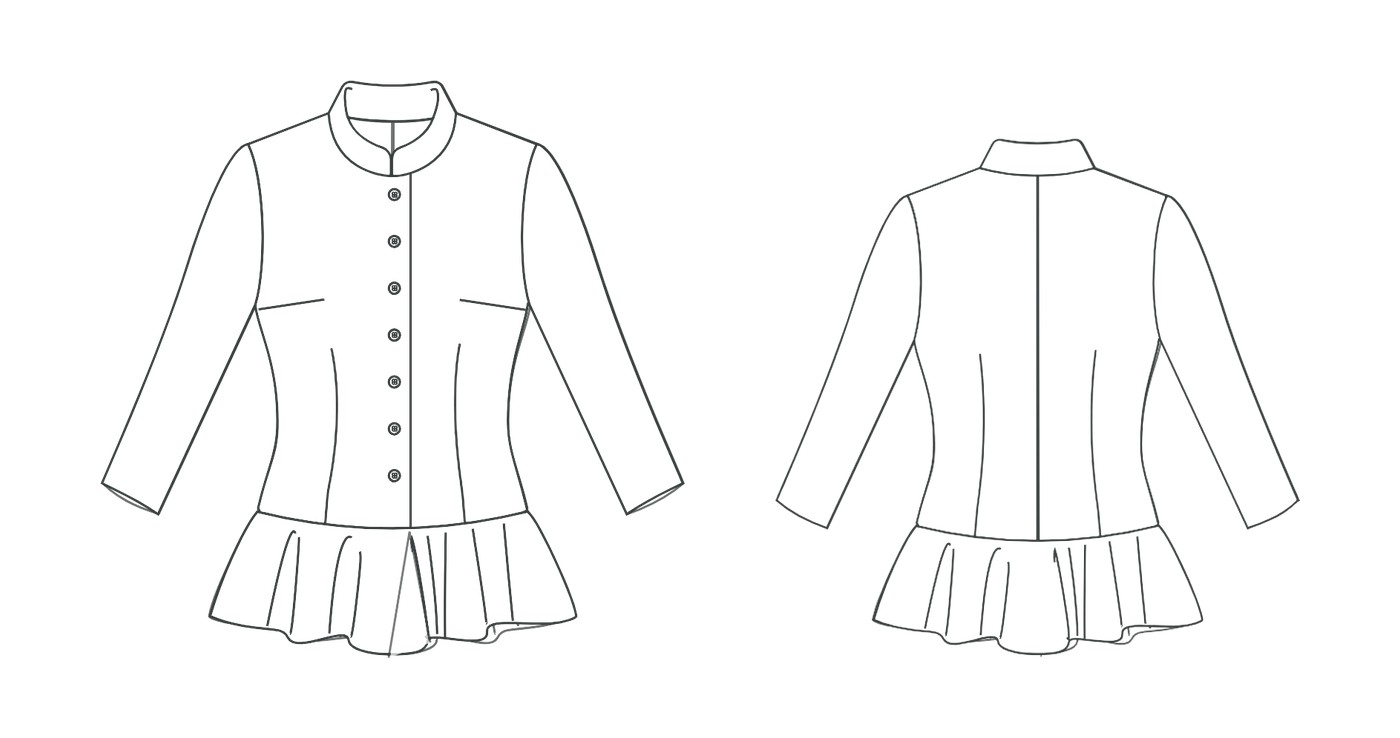
A fitted, 1950s-inspired jacket with a softly rounded mandarin collar, a row of small buttons down the front and a flounce that swings out from the natural waist. Bust and waist darts and a center-back seam give it a close, flattering shape, and the bracelet-length sleeves leave room for a watch or a bangle. It is unlined: the neckline and front edges are finished with interfaced facings. Wear it buttoned up on its own as a top, over a full midi skirt or with straight trousers.
Download the free PDF sewing pattern in A4 and US Letter, and sew your own vintage peplum jacket!
Materials
- Main fabric: 1.50–2.20 m (1 3/4–2 1/2 yd) of 150 cm (60″) wide fabric, or 2.00–2.90 m (2 1/4–3 1/4 yd) of 115 cm (45″) wide fabric. Choose a medium-weight woven with some body: wool crepe, wool-blend suiting, gabardine, fine tweed, cotton twill, linen blend, brocade, jacquard, velveteen or baby corduroy
- Fusible interfacing: 0.80–0.90 m (7/8–1 yd), 90 cm (36″) wide, for the neck facings and collar stands
- Buttons: 7 (sizes 00–8) or 8 (sizes 10–22), 1 cm (3/8″) diameter
- All-purpose thread, a hand-sewing needle and a buttonhole foot if you have one
Avoid thick coatings such as melton or boiled wool: they are too bulky at the collar and stop the flounce from draping. Pre-wash or steam your fabric the way you will care for the finished jacket.
Pattern pieces
- Front, main fabric: cut 2
- Back, main fabric: cut 2
- Sleeve, main fabric: cut 2
- Front Flounce, main fabric: cut 1
- Back Flounce, main fabric: cut 1
- Front Neck Facing, main fabric + interfacing: cut 2 + 2
- Back Neck Facing, main fabric + interfacing: cut 2 + 2
- Collar Stand, main fabric + interfacing: cut 2 + 2
Place every grainline parallel to the selvage. Cut the two flounce pieces on a single layer, right side up. Transfer the darts, notches, the button and buttonhole marks, the center lines of the flounces and the circles on the sleeve cap before you remove the paper.
Download the free PDF sewing pattern
One file per size, in the paper format that suits you. Share your finished jacket with #cozysewpatterns!
 A0 + Step-by-step guideGet it here ↓
Unzip the folder first. Print page 1 at 100% (actual size) and measure the 10 cm (4″) calibration square before printing the rest. Trim the margins and tape the pages together, matching the markers. The A0 file comes with the illustrated guide below.
Sizing guide
Drafted for a height of 1.68 m (5′6″). Choose your size by bust measurement, then check the waist. This is a fitted jacket, with about 5–6 cm (2–2 3/8″) of ease at the bust: to wear it over a knit sweater, go up one size.
Letter sizes: 00/0 = XXS · 2/4 = XS · 6/8 = S · 10/12 = M · 14 = L · 16 = XL · 18 = XXL · 20 = 3XL · 22 = 4XL
Body measurements (cm)
| cm | 00 | 0 | 2 | 4 | 6 | 8 | 10 | 12 | 14 | 16 | 18 | 20 | 22 |
|---|---|---|---|---|---|---|---|---|---|---|---|---|---|
| Bust | 80 | 82.5 | 85 | 87.75 | 90.25 | 92.75 | 95.25 | 99.25 | 104.25 | 109.25 | 114.25 | 119.25 | 124.25 |
| Waist | 63.5 | 66 | 68.75 | 71.25 | 73.75 | 76.25 | 78.75 | 82.75 | 87.5 | 93.25 | 99 | 104.75 | 110.5 |
| Hips | 87.75 | 90.25 | 92.75 | 95.25 | 98 | 100.25 | 102.75 | 106.5 | 111 | 115.5 | 120.75 | 125.75 | 130.75 |
Body measurements (inches)
| in | 00 | 0 | 2 | 4 | 6 | 8 | 10 | 12 | 14 | 16 | 18 | 20 | 22 |
|---|---|---|---|---|---|---|---|---|---|---|---|---|---|
| Bust | 31.5 | 32.5 | 33.5 | 34.5 | 35.5 | 36.5 | 37.5 | 39.1 | 41.0 | 43.0 | 45.0 | 46.9 | 48.9 |
| Waist | 25.0 | 26.0 | 27.1 | 28.1 | 29.0 | 30.0 | 31.0 | 32.6 | 34.4 | 36.7 | 39.0 | 41.2 | 43.5 |
| Hips | 34.5 | 35.5 | 36.5 | 37.5 | 38.6 | 39.5 | 40.5 | 41.9 | 43.7 | 45.5 | 47.5 | 49.5 | 51.5 |
Finished garment measurements (cm)
| cm | 00 | 0 | 2 | 4 | 6 | 8 | 10 | 12 | 14 | 16 | 18 | 20 | 22 |
|---|---|---|---|---|---|---|---|---|---|---|---|---|---|
| Bust | 85.5 | 88.0 | 90.5 | 93.3 | 95.8 | 98.2 | 100.8 | 104.8 | 109.9 | 115.0 | 120.1 | 125.2 | 130.3 |
| Waist | 70.0 | 72.6 | 75.4 | 78.0 | 80.6 | 83.3 | 85.9 | 90.0 | 94.9 | 100.8 | 106.7 | 112.6 | 118.5 |
| Back length | 54.1 | 54.4 | 54.9 | 54.9 | 55.0 | 55.0 | 55.3 | 55.4 | 55.7 | 56.2 | 56.8 | 57.5 | 58.0 |
| Sleeve length | 53.2 | 53.3 | 53.3 | 53.4 | 53.4 | 53.4 | 53.5 | 53.5 | 53.6 | 53.6 | 53.7 | 53.8 | 53.9 |
Fabric and notions per size
| 00 | 0 | 2 | 4 | 6 | 8 | 10 | 12 | 14 | 16 | 18 | 20 | 22 | |
|---|---|---|---|---|---|---|---|---|---|---|---|---|---|
| 150 cm / 60″ wide (m) | 1.50 | 1.50 | 1.90 | 1.90 | 1.90 | 1.90 | 1.90 | 2.10 | 2.10 | 2.10 | 2.20 | 2.20 | 2.20 |
| 115 cm / 45″ wide (m) | 2.00 | 2.00 | 2.00 | 2.20 | 2.20 | 2.20 | 2.20 | 2.60 | 2.60 | 2.60 | 2.90 | 2.90 | 2.90 |
| Interfacing 90 cm / 36″ (m) | 0.80 | 0.80 | 0.80 | 0.80 | 0.80 | 0.80 | 0.80 | 0.80 | 0.80 | 0.80 | 0.90 | 0.90 | 0.90 |
| Buttons 1 cm (3/8″) | 7 | 7 | 7 | 7 | 7 | 7 | 8 | 8 | 8 | 8 | 8 | 8 | 8 |
Sewing notes
Fit and style
The flounce is one continuous ring sewn to the natural waist, and the fronts are joined at the waist, so the jacket opens from the collar to the waist only: you unbutton it and slip it on like a button-front blouse. Before cutting, hold the Front against you and check that the bodice reaches your waist; lengthen or shorten the Front and Back by the same amount if needed.
Fabrics
Pick a medium-weight woven that holds a crisp collar and lets the flounce fall in soft folds. Bouclé works too but frays easily, so finish the edges as soon as you cut. Avoid stretch fabrics.
Cutting out
Cut the Front, Back, Sleeves, facings and collar stands on a double layer to get mirrored pairs, and the two flounces on a single layer. Fuse the interfacing to the facings and collar stands before you start sewing.
Step-by-Step Sewing Instructions
Seam allowances are 1 cm (3/8″). Sew with right sides together and finish raw edges as you go.
- Sew the darts on the Front and Back and staystitch the necklines.
- Sew the center-back seam and press it open.
- Sew the shoulder seams.
- Sew the side seams and try the bodice on to check the waist position.
- Make the collar stand: stitch the two layers along the top edge and ends, trim, turn and press.
- Baste the collar stand to the neckline, with the ends at the markings.
- Attach the facings along the front edges and neckline, then understitch and turn them inside.
- Make the buttonholes on the Right Front, sew on the buttons and baste the fronts together at the waist.
- Set in the sleeves after hemming them 1 cm (3/8″).
- Make the flounce ring, hem it 2 cm (3/4″) and sew it to the waist.
- Finish: remove basting and give the jacket a final press.
Stuck on a step? Sew it with pictures.
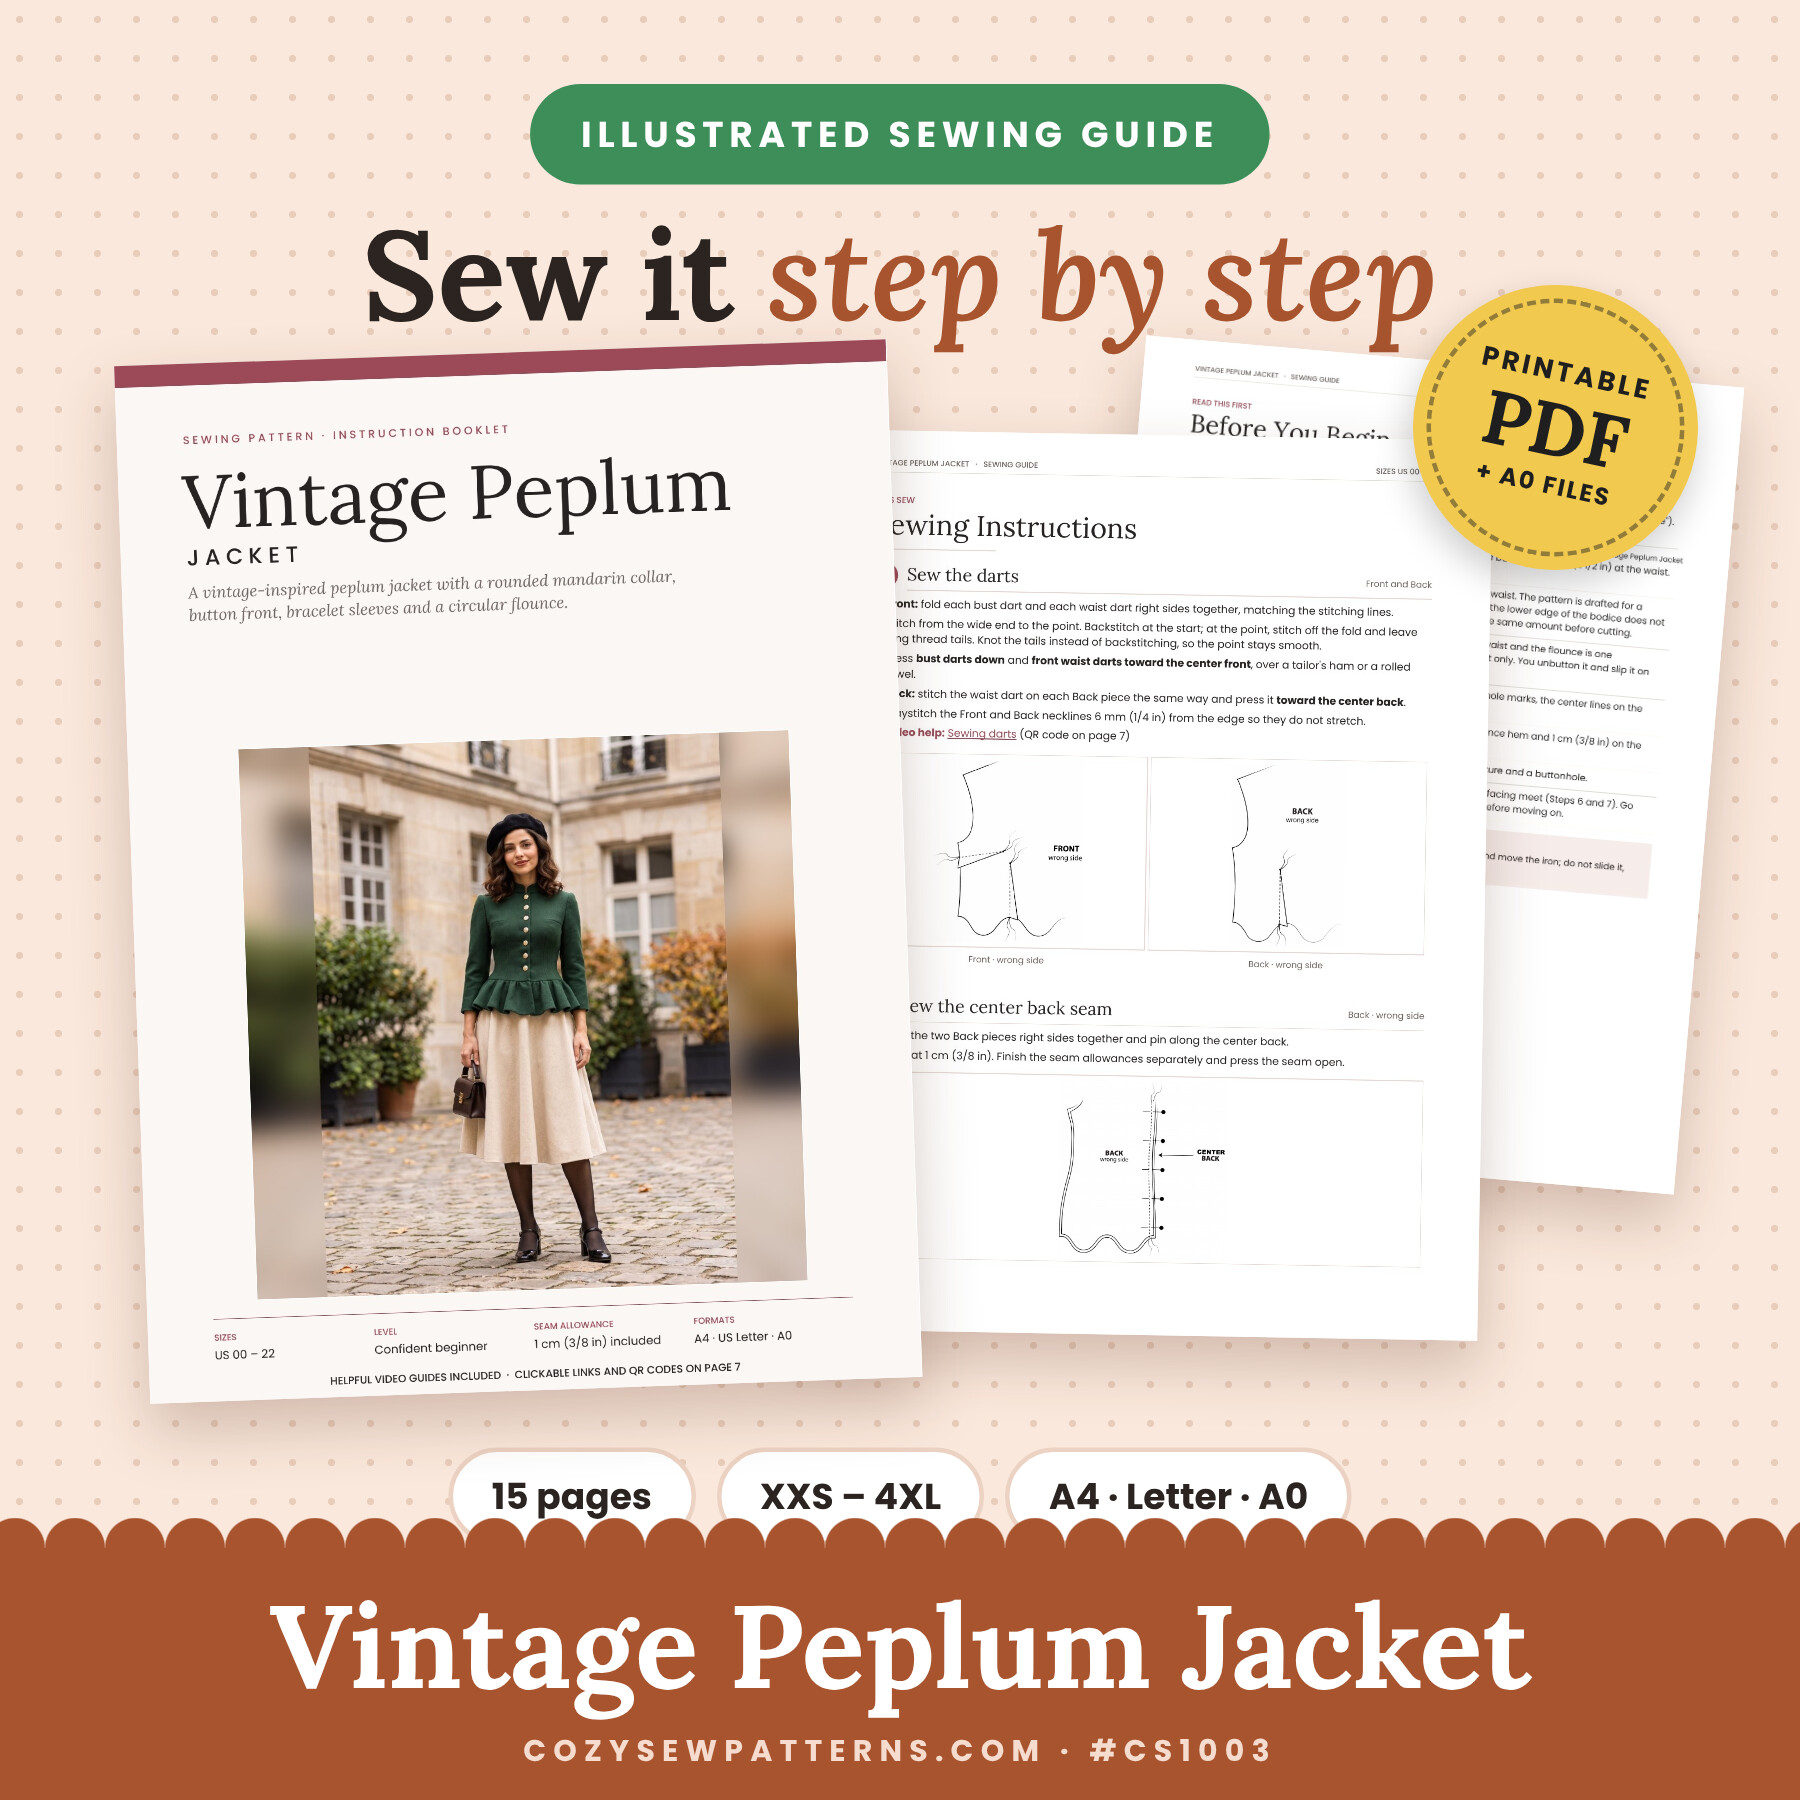
The steps above are a quick overview. The full illustrated guide walks you through every step with clear drawings: the darts, the rounded collar stand, the facings, the buttonholes, the sleeves and the flounce hem. It also includes the A0 pattern file.
- Illustrated diagrams for every step
- Before-you-begin checklist and fit tips
- Video guides with QR codes for the key techniques
- A0 pattern file included
- Printable PDF, instant download
Español · Italiano · Deutsch · Français · Nederlands…
Buy the guide, then email us your language. Free, delivered in 48–72h.
♥ Every guide you buy keeps our patterns free.
Questions
Is the pattern really free?
Yes. The A4 and US Letter pattern files are free. The illustrated step-by-step guide and the A0 file are available for a small coffee.
Is the seam allowance included?
Yes: 1 cm (3/8″) on every seam, 2 cm (3/4″) at the flounce hem and 1 cm (3/8″) at the sleeve hem.
Is the jacket lined?
No. The neckline and front edges are finished with interfaced facings, so it stays light and quicker to sew.
Why does the jacket open only to the waist?
The flounce is one continuous ring, which keeps the waist smooth all around. The fronts are basted together at the waist, and the buttons open from the collar down to the waist, so the jacket slips on easily.
Happy sewing!