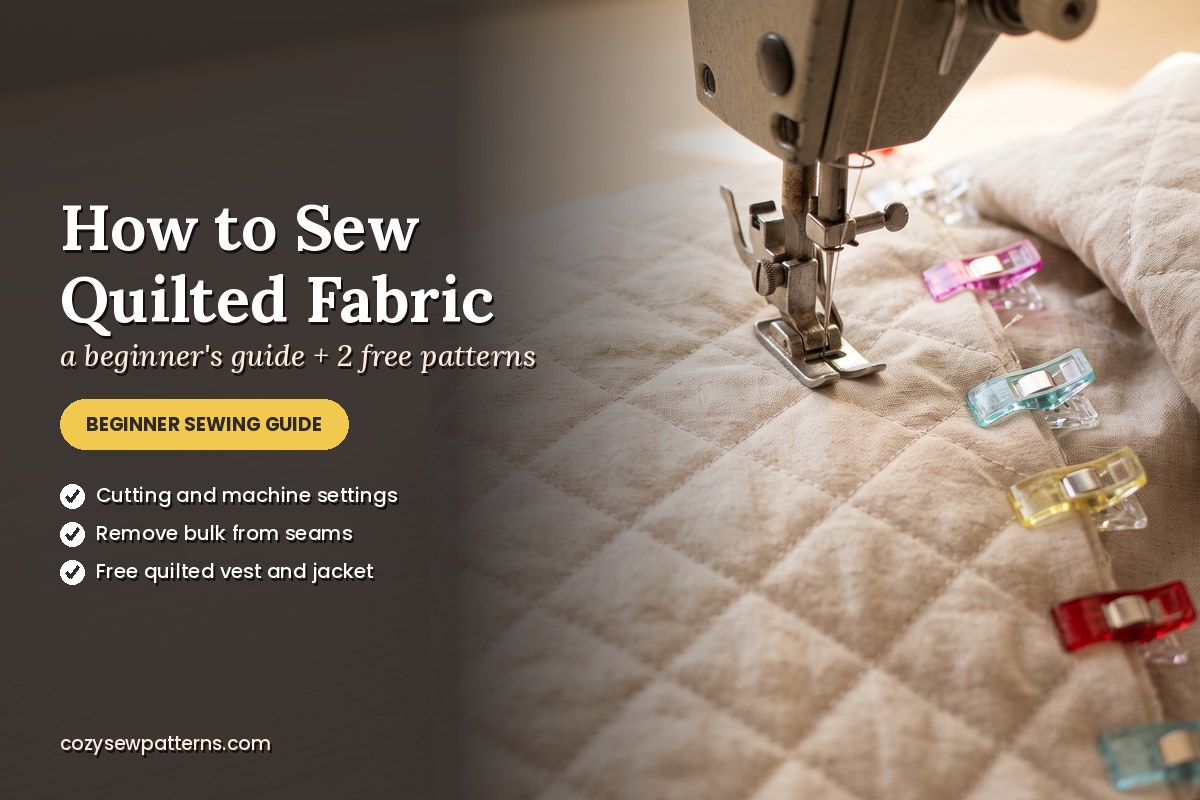
Quilted jackets and vests are everywhere this season, and they are easier to sew than they look. Quilted fabric is stable, barely frays and gives a garment warmth and body without any lining. It just behaves a little differently from a plain cotton: it is thicker, it can shift between layers and it gets bulky at the seams. This guide shows you how to handle it, from choosing the fabric to neat seams and edges, so your first quilted jacket looks handmade in the best way.
Types of quilted fabric
| Fabric | What it is | Good for | Ease |
|---|---|---|---|
| Double-sided quilted cotton | Two cottons with a thin batting, stitched together | Jackets, vests; the inside looks neat too | Easy |
| Patchwork quilting | Pre-quilted fabric printed or pieced to look like patchwork | Statement jackets, cottagecore vests | Easy |
| Diamond or channel quilted | Plain fabric quilted in a grid or straight lines | Classic vests and barn-style jackets | Easy |
| Jersey-backed quilting | Light quilting with a knit backing | Sweatshirts, soft jackets | Medium |
| Quilted nylon / puffer | Slippery shell with thick polyester fill | Outerwear | Harder: needs low heat and clips |
| Old quilts and throws | Upcycled hand-made or vintage quilts | One-of-a-kind jackets and vests | Easy to medium |
How to quilt your own fabric
Can’t find the right quilting? Make it. This also lets you use any cotton print you love.
- Choose three layers: an outer cotton, a thin cotton or polyester batting (low loft), and a lining cotton for the inside.
- Cut them bigger than you need: quilting shrinks the fabric a little, so cut each layer 5–10 cm (2–4″) larger than your pattern piece all round, or quilt a whole panel first.
- Baste the layers with safety pins or spray baste every 10–15 cm (4–6″), smoothing from the centre out.
- Mark your lines with chalk or a removable pen: straight channels 2.5–5 cm (1–2″) apart, or a diamond grid at 45°.
- Quilt from the centre outwards with a walking foot and a 3–3.5 mm stitch, changing direction on every other line so the layers don’t drift.
- Re-cut the pattern piece from the quilted panel, then sew as usual.
Cutting quilted fabric
- Prewash first. Quilted cotton can shrink and pucker a little in the first wash; do it before cutting, not after sewing.
- Cut single layer when the fabric is thick, flipping the pattern for the second piece, so both sides are accurate.
- Use clips and pattern weights instead of pins, which can distort the layers and leave holes.
- Plan the quilting lines and patchwork squares. Line them up at the centre front and match them across the side seams, like you would a plaid.
- Mark with chalk. A tracing wheel doesn’t mark well on quilting; use tailor’s chalk or a chalk pen for darts and notches.
- Staystitch the edges of each piece 6 mm (1/4″) from the edge, so the quilting stitches don’t unravel while you handle it.
Machine settings and tools
| Needle | Universal or jeans needle, size 90/14 (100/16 for thick quilting) |
| Stitch length | 3–3.5 mm; a short stitch can cut into the batting |
| Presser foot | A walking foot feeds the layers evenly; otherwise lower the presser foot pressure |
| Thread | Good quality all-purpose polyester thread |
| Holding layers | Wonder clips, not pins |
| Handy extras | Double-fold bias binding, a seam roller or clapper, a pressing cloth |
Always sew a test seam on two scraps first. If the top layer creeps ahead, slow down, lengthen the stitch a little and let the walking foot do the work.
How to remove bulk from seams
This is the secret to a quilted garment that looks professional. Each seam allowance holds four layers of fabric and two of batting, so it needs thinning.
- Trim the batting out of the seam allowance. After sewing, peel back the fabric layers and cut the batting away close to the stitching. The seam will lie flat immediately.
- Grade the seam: trim one fabric layer a little shorter than the other so the edges don’t stack up.
- Clip curves and corners at armholes, necklines and collar points before turning.
- Use plain cotton for facings if your quilting is thick: cut the neck and armhole facings from a matching lightweight cotton instead of the quilted fabric.
- Avoid fusing interfacing onto the quilted body pieces. It flattens the quilting; interface only facings, collars and cuffs.
Seam finishes and edges
| Finish | How | Best for |
|---|---|---|
| Bias-bound seams | Wrap each seam allowance (or both together) in double-fold bias binding | Unlined jackets where the inside shows; the prettiest finish |
| Overlock or zigzag | Finish the edges after trimming the batting | Quick and neat on thinner quilting |
| Flat-felled look | Press both allowances to one side, trim the under one, fold the top one over and topstitch | Very flat seams on vests |
| Bound edges | Bind the hem, front and armhole edges with bias tape instead of facings | Classic quilted-jacket look, also great for upcycled quilts |
Pressing without flattening
- Press with steam through a pressing cloth, lifting the iron instead of sliding it.
- Press the seam allowances only, not the quilted panels around them.
- Use a clapper or seam roller to set seams flat without heavy pressure.
- On polyester or nylon quilting, use a low heat setting: high heat can melt the fill or shine the fabric.
Common problems and fixes
| Problem | Fix |
|---|---|
| Layers shift and seams don’t match | Walking foot, more clips, sew slower; match quilting lines first |
| Lumpy, thick seams | Trim the batting out of every seam allowance and grade |
| Skipped stitches | New, bigger needle (90/14 or 100/16) and a longer stitch |
| Quilting stitches unravel at the edges | Staystitch each piece right after cutting |
| Bulky collar points | Trim, clip and grade; cut the under-collar from plain cotton |
| Garment feels tight | Quilting takes up ease: go one size up for thick quilting or for layering over sweaters |
Free quilted patterns to try
Both patterns are drafted for pre-quilted fabric about 5 mm thick, with no lining, and both are rated easy for confident beginners.
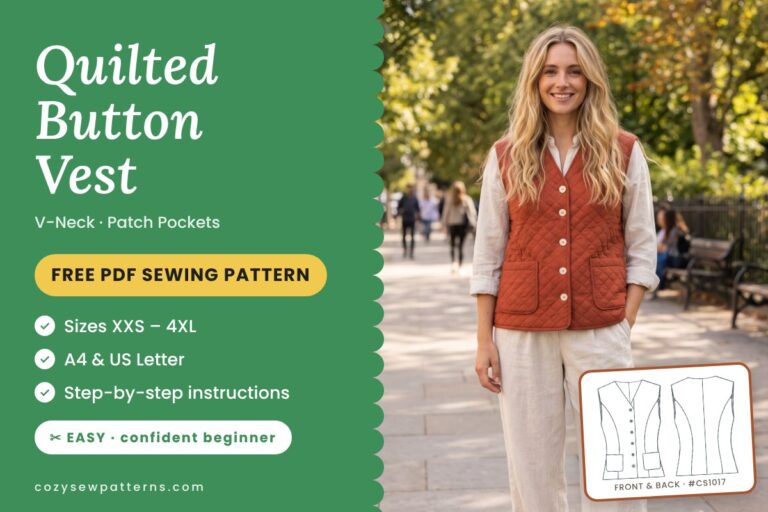 Quilted Button VestV-neck, princess seams, patch pockets · XXS–4XL · the perfect first quilted project
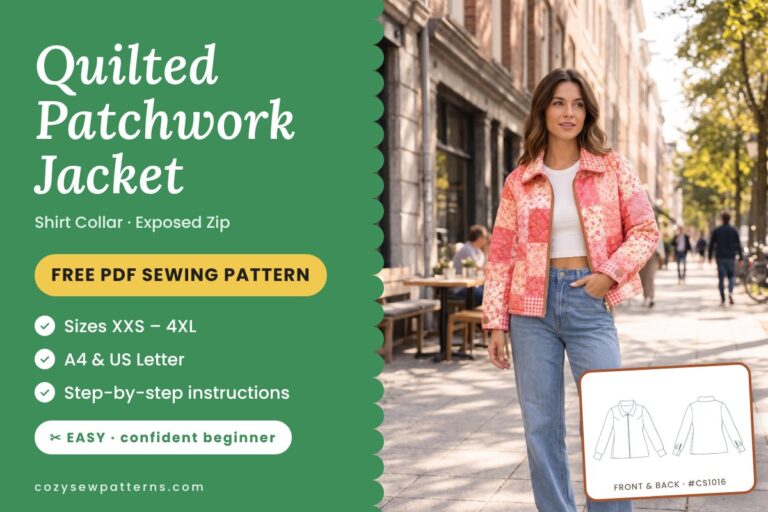 Quilted Patchwork JacketShirt collar, exposed zip, cuffs · XXS–4XL · your next step
Start with the Quilted Button Vest: no sleeves, no collar, and it teaches you every quilted-fabric skill in this guide. Then try the Quilted Patchwork Jacket for a cottagecore statement piece. Want to add hand stitching to plain quilting? See sashiko for beginners.
Sew your first quilted layer
Free in A4 and US Letter, sizes XXS–4XL, with fabric charts and tips for quilted fabric on every pattern page.
Frequently asked questions
Can you sew quilted fabric on a regular sewing machine?
Yes. Use a 90/14 needle, a 3–3.5 mm stitch and a walking foot if you have one, and trim the batting out of the seam allowances. Quilting around 5 mm thick sews easily on any home machine.
Do quilted jackets need a lining?
No. Double-sided quilted cotton is neat on both sides, so the jacket only needs facings and finished seams. Bias-bound seams make the inside look as good as the outside.
How do you finish the edges of quilted fabric?
Bind them with double-fold bias tape, or finish them with an overlocker or zigzag after trimming the batting. Staystitch every piece after cutting so the quilting stitches don’t unravel.
Can I make a jacket from an old quilt?
Yes, as long as it is not too thick (about 5 mm is ideal) and has no worn or torn areas. Wash it first, plan where the blocks fall, and cut the facings from plain cotton.
Happy sewing!