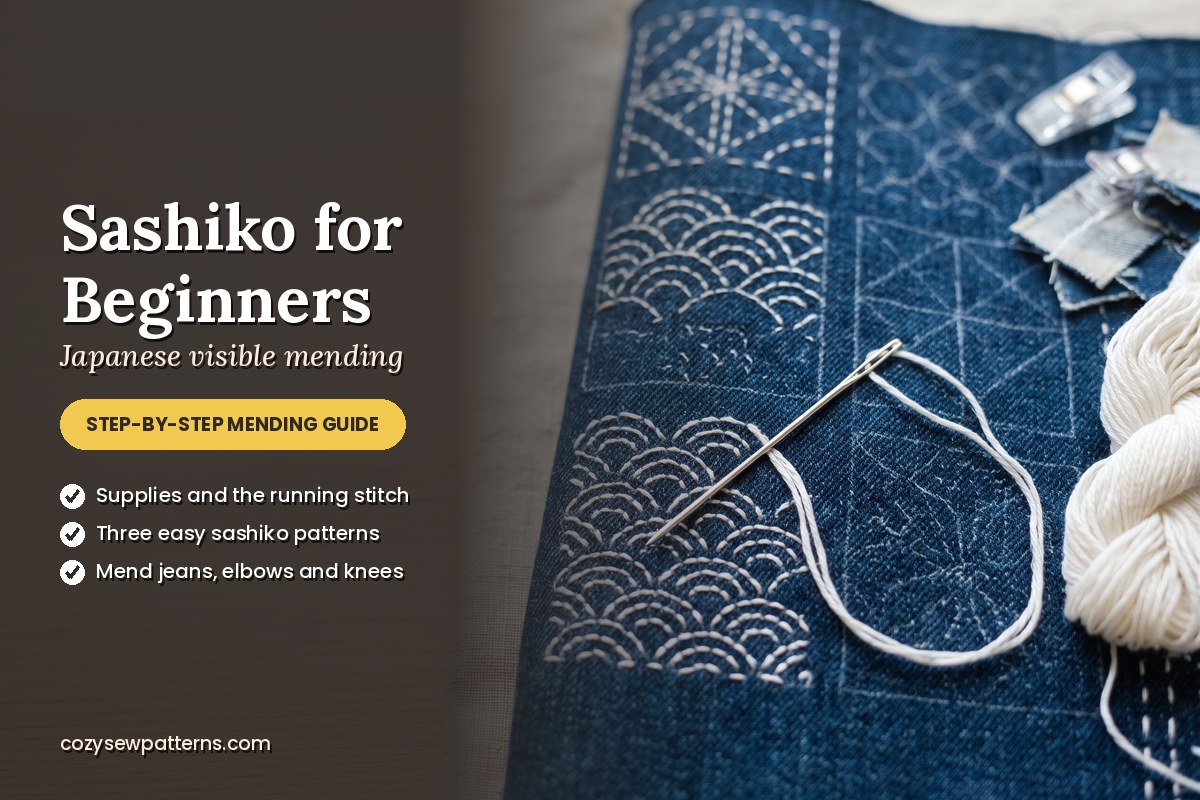
A hole in the knee of your favourite jeans used to mean the end of them. Today it can be the start of something more beautiful. Sashiko, a traditional Japanese stitching technique, turns repairs into decoration with rows of small, even running stitches, and it has become one of the most popular ways to practise visible mending.
The best part: sashiko uses one single stitch, needs very few supplies and is completely relaxing to sew by hand. This guide covers everything you need to start.
What is sashiko?
Sashiko (刺し子, “little stabs”) began in rural Japan as a practical way to reinforce and repair work clothes. Layers of worn indigo cotton were stitched together with white cotton thread, making the fabric warmer and stronger. Over time the stitching became decorative, with geometric patterns of waves, hemp leaves and interlocking circles.
Two styles are useful to know: moyōzashi, where the running stitch follows the outline of a pattern, and hitomezashi, where single stitches on a grid build up the design. Its patchwork cousin, boro, layers many patches together.
Sashiko supplies
| Supply | Why | Alternative |
|---|---|---|
| Sashiko thread | Thick, matte, twisted cotton that is not split into strands | Pearl cotton no. 8 or 12, or 3–6 strands of embroidery floss |
| Sashiko needle | Long and sharp, loads several stitches at once | A long embroidery or darning needle |
| Fabric | Medium-weight cotton or denim | Any woven: jeans, chambray, linen, canvas |
| Marking tool | To draw the grid or pattern | Water-soluble pen or tailor’s chalk |
| Ruler | For the grid | Any clear ruler |
| Thimble | To push the needle through layers | A leather thimble or palm thimble |
The basic sashiko stitch
- Mark your pattern on the right side of the fabric. For your first try, draw a 1 cm (3/8″) grid.
- Thread the needle with about 50 cm (20″) of thread and tie a small knot. Start from the back so the knot is hidden.
- Load several stitches on the needle at once by rocking the fabric onto it, then pull it through. This keeps the stitches straight and even.
- Keep a rhythm: stitches on top should be slightly longer than the gaps underneath, about 3–5 mm (1/8–3/16″), roughly 5–6 stitches per inch.
- Leave a little slack at every turn: a tiny loop on the back stops the fabric puckering.
- Smooth the fabric along the thread after every few stitches by running it between your fingers.
- Never cross stitches where lines meet; leave a small gap at the intersection so the pattern stays crisp.
- Finish on the back by weaving the thread under a few stitches, then trim.
Three easy patterns to start with
- Straight lines: parallel rows of running stitch, 5–10 mm (1/4–3/8″) apart. Perfect for a first mend and very sturdy.
- Hitomezashi cross grid (jūjizashi): stitch all the horizontal lines of a grid, then all the vertical lines, so the stitches form little crosses.
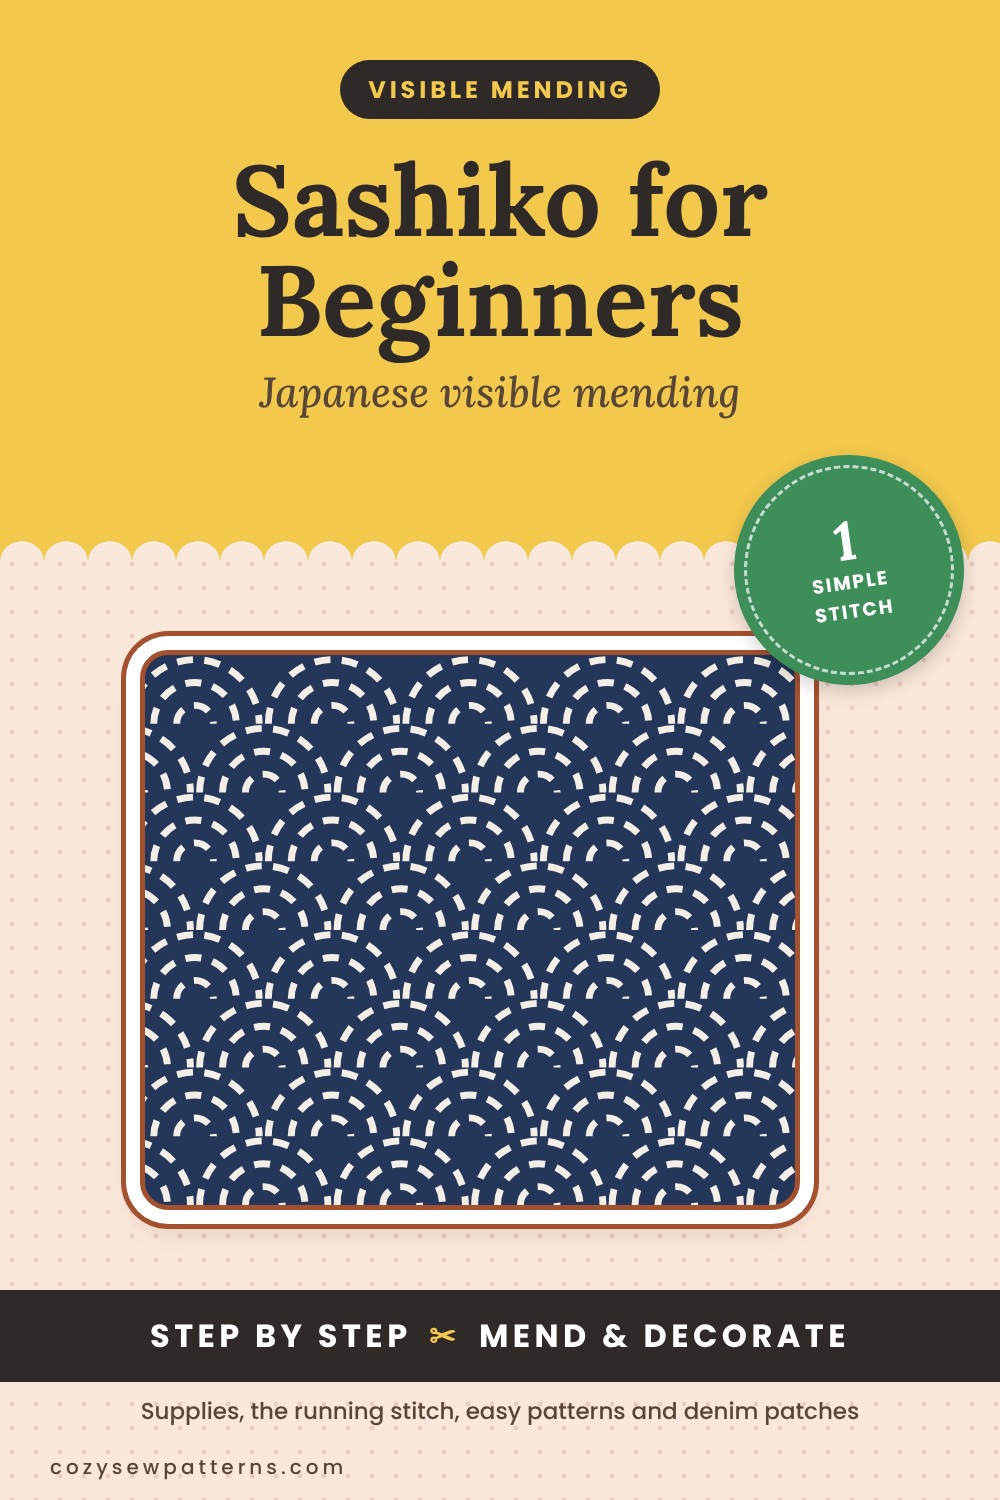
- Seigaiha (waves): rows of overlapping half-circles, like fish scales. Trace around a glass or a coin to draw them.
How to mend with sashiko
This method works for holes in jeans, worn elbows and thin areas on jackets and bags:
- Trim loose threads around the hole, but do not cut the fabric bigger.
- Cut a patch of sturdy cotton or denim, at least 2–3 cm (1″) bigger than the hole on every side. You can place it behind the hole (for a subtle look) or on top (for a bold patch).
- Pin and baste the patch in place. On trouser legs, slide a book or a piece of cardboard inside the leg so you only sew through one layer.
- Mark your pattern so it covers the patch and some of the sound fabric around it.
- Stitch rows of sashiko across the whole area, working from the outside towards the hole. The stitching holds the frayed edges down and joins them to the patch.
- Remove the basting and wash out the markings.
Care and tips
- Wash sashiko-mended clothes inside out on a gentle cycle.
- Prewash your patch fabric so it does not shrink after mending.
- Use thread a shade darker or lighter than you think: it softens after washing.
- Practise your stitch length on a scrap before stitching your favourite jeans.
More slow-sewing ideas
Love visible mending? Try darning a sweater, or give an old shirt a new life.
Frequently asked questions
What do I need to start sashiko?
Sashiko thread or pearl cotton, a long sashiko or embroidery needle, a cotton or denim fabric, a water-soluble pen or chalk, a ruler and a thimble.
How long should sashiko stitches be?
About 3–5 mm (1/8–3/16 inch), roughly 5–6 stitches per inch, with the stitches on top slightly longer than the gaps underneath.
Can I use embroidery floss for sashiko?
Yes. Use 3 to 6 strands of embroidery floss together, or pearl cotton no. 8 or 12, if you cannot find sashiko thread.
Is sashiko good for mending jeans?
Yes. A cotton patch behind the hole covered with rows of sashiko running stitch makes a strong, flexible and decorative repair on denim.
Happy sewing!