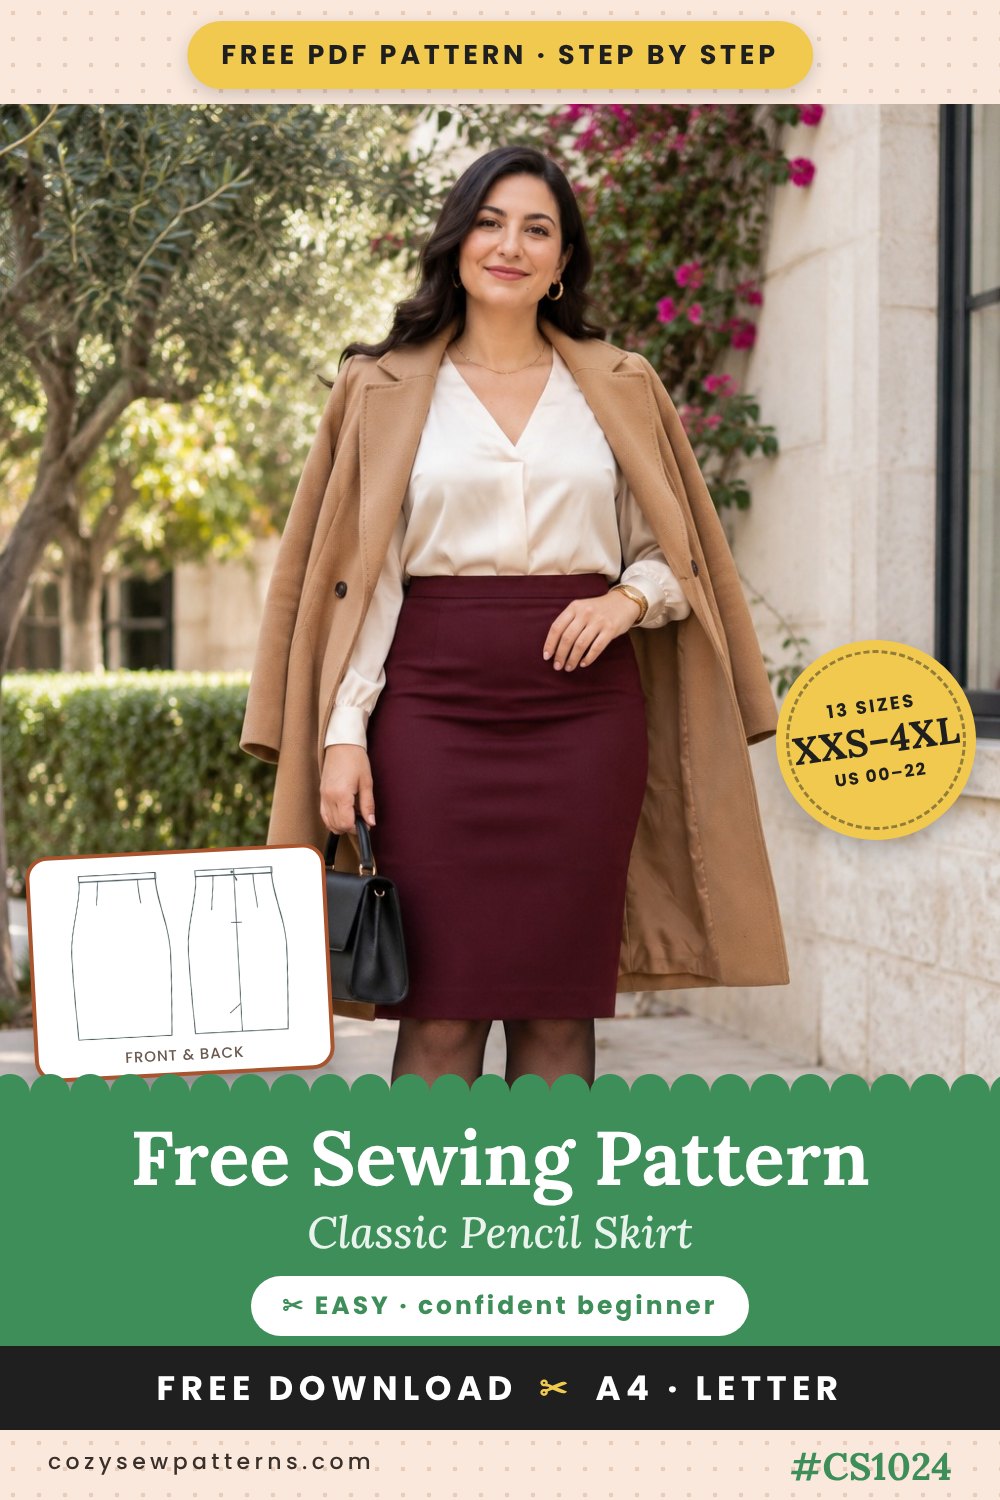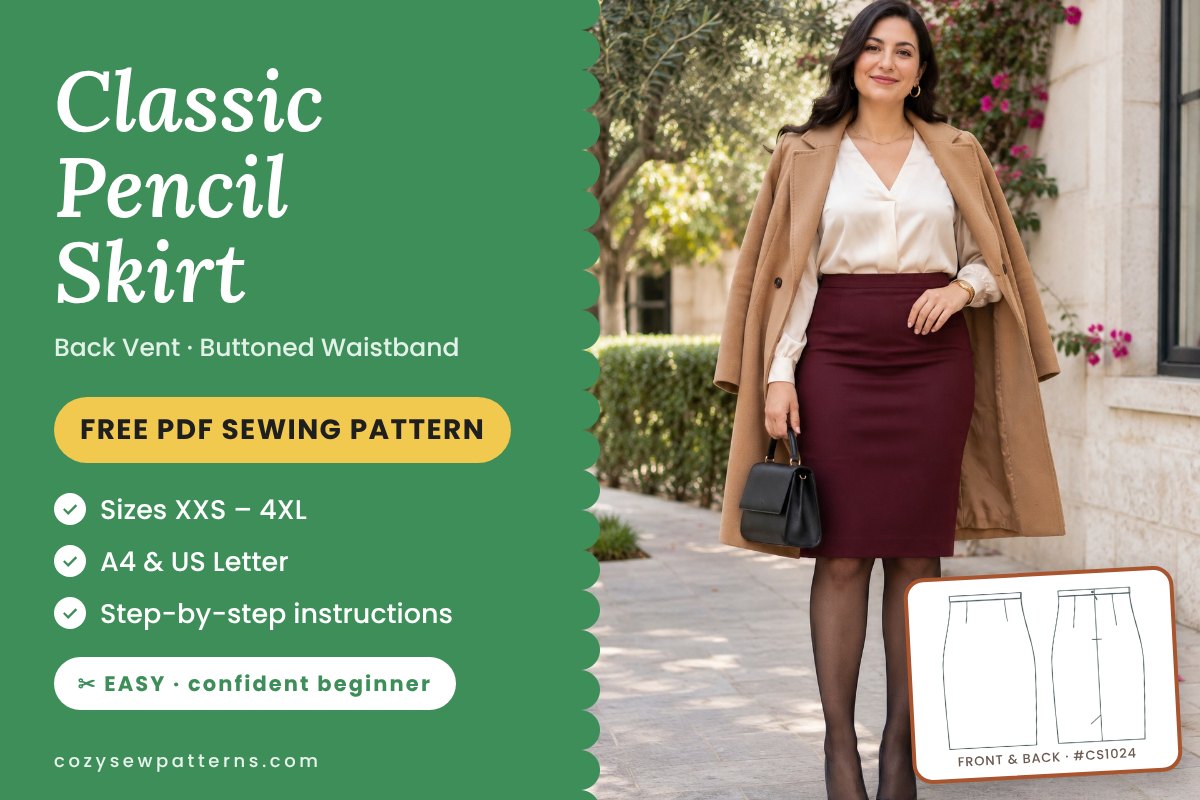
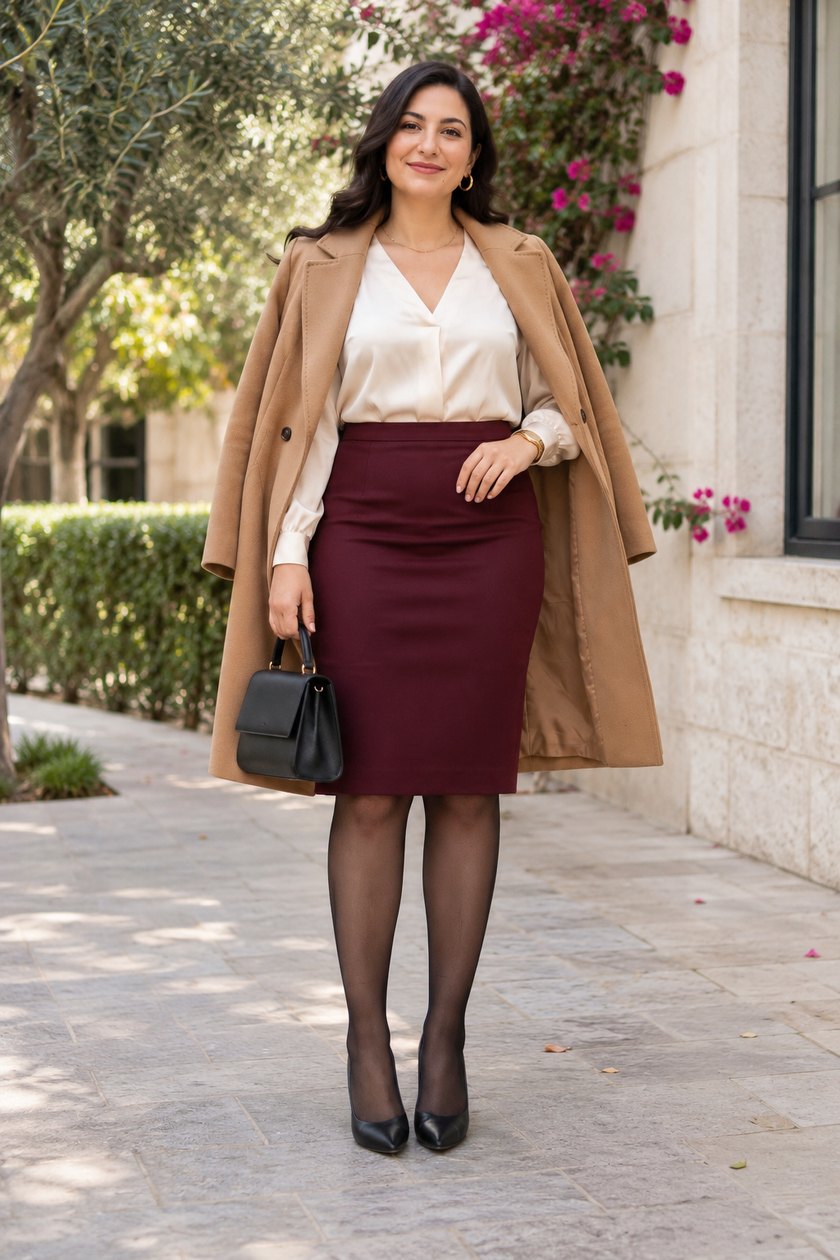
A timeless, fitted pencil skirt that sits at the natural waist and ends just at the knee. Darts at the front and back shape it smoothly over the hips, a back vent lets you walk and sit with ease, and a slim waistband with one button gives it a crisp, tailored finish. It is a true wardrobe classic: wear it to the office with a blouse, in winter with tights and a fine sweater, or dress it up for the holidays.
Download the free PDF sewing pattern in A4 and US Letter, in 13 sizes from XXS to 4XL (US 00–22, plus sizes included), and sew your own classic pencil skirt!
Materials
- Main fabric: 0.8–1.4 m (7/8–1 5/8 yd) of 150 cm (60″) wide fabric, or 1.0–1.4 m (1 1/8–1 5/8 yd) of 115 cm (45″) wide fabric. A medium-weight woven with some body: wool suiting, gabardine, crepe, tweed, cotton twill or sateen, lightweight denim, a linen blend, brocade or jacquard
- 1 invisible zipper, 22 cm (9″) or longer (the opening is 20 cm / 7 7/8″)
- 1 button, 1 cm (3/8″) across
- Light to medium fusible interfacing, 90 cm (36″) wide: 0.3 m (3/8 yd)
- Matching all-purpose thread, an invisible zipper foot (a regular zipper foot also works), a hand-sewing needle and tailor’s chalk
A woven with 2–3% elastane makes the skirt more comfortable to sit in. Avoid knits, very thin or drapey fabrics and heavy coating.
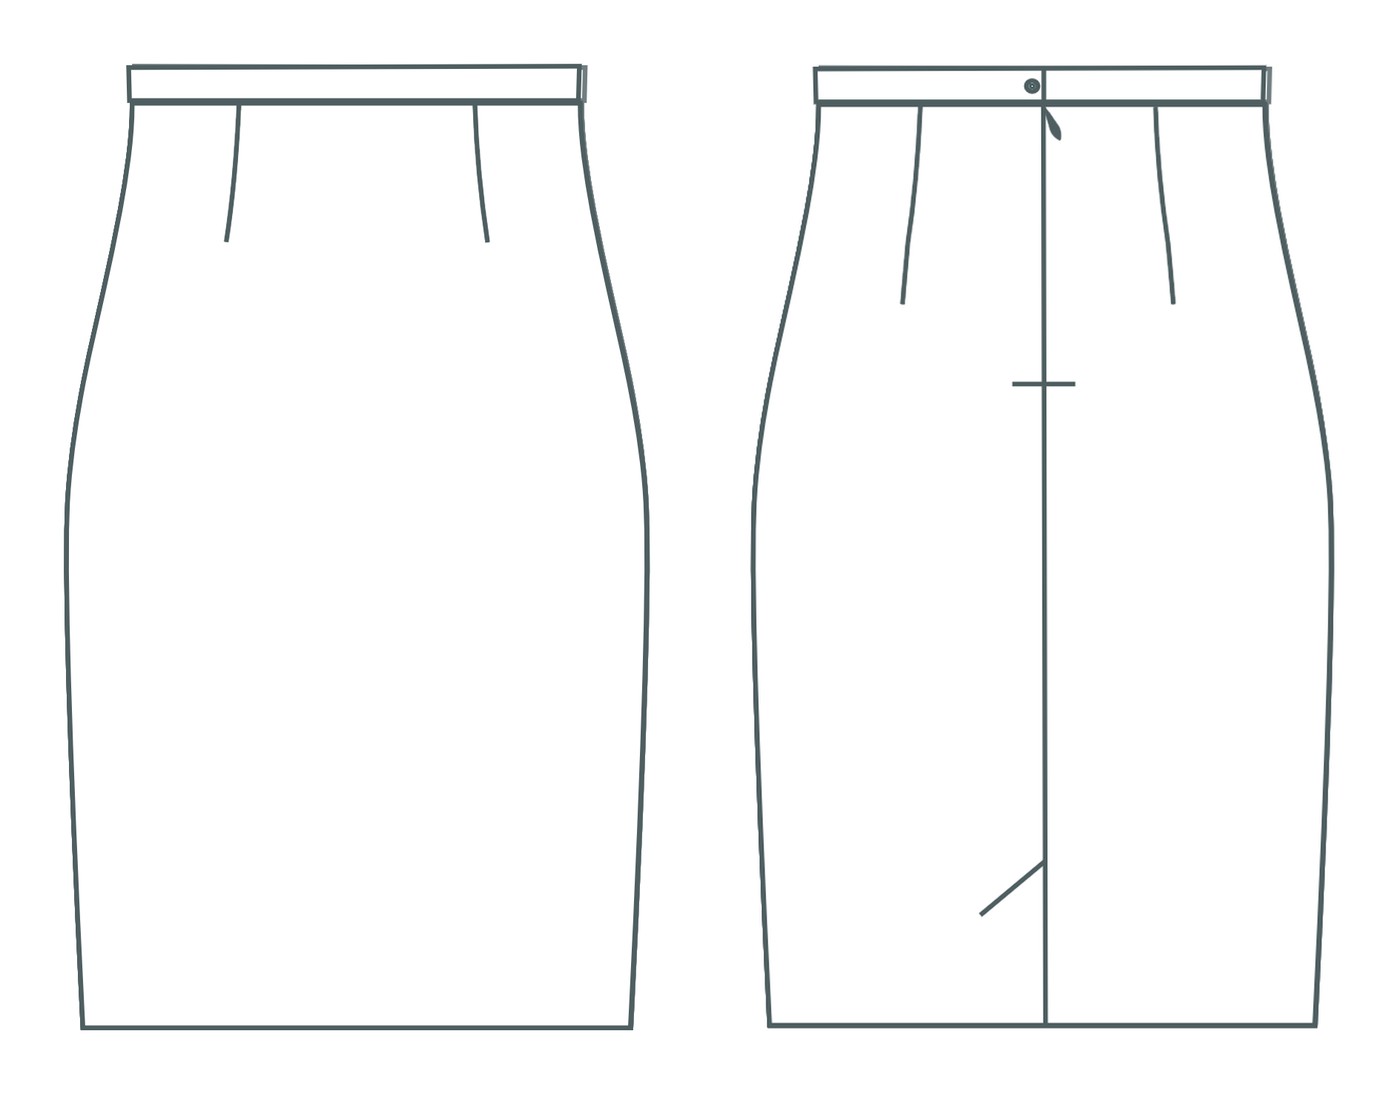
Pattern pieces
- Skirt Front, main fabric: cut 1 (single layer, printed whole)
- Skirt Back, main fabric: cut 2 (mirror pair)
- Waistband, main fabric + interfacing: cut 1 + 1
The front is printed as a complete piece: cut it on a single layer, not on a fold. Mark the darts, the notches, the vent circle and fold line, and the button and buttonhole marks on the waistband. Chalk “L” and “R” on the two backs right after cutting, so the vent laps the right way.
Download the free PDF sewing pattern
One file per size, in the paper format that suits you. Share your finished skirt with #cozysewpatterns!
 A0 + Step-by-step guideGet it here ↓
Unzip the folder first. Print page 1 at 100% (actual size) and measure the 10 cm (4″) calibration square before printing the rest. Trim the margins and tape the pages together, matching the markers. The A0 file comes with the illustrated guide below.
Watch the classic pencil skirt
Design details and fit
A fitted, knee-length skirt with a clean, tailored line. Here is what makes it:
- Silhouette: a fitted pencil shape that narrows slightly toward the hem
- Length: knee length, about 57 cm (22 1/2″) from the waist seam
- Shaping: two darts at the front and one dart on each back
- Closure: a center back invisible zipper and a 3 cm (1 1/8″) waistband with one button
- Back vent: a lapped kick pleat with a diagonal topstitch, about 15 cm (6″) long
- Inside: unlined, no pockets
It sits at the natural waist with only about 3 cm (1 1/4″) of ease at the hips, so it skims the body closely without pulling.
Sizing guide
Drafted for a height of 1.68 m (5′6″). Choose your size by your hip measurement: a pencil skirt fits closely there. If your waist is a different size, blend between the two sizes from the waist down to the hip notch. Between sizes, take the larger one.
Letter sizes: 00 = XXS · 0/2 = XS · 4/6 = S · 8/10 = M · 12/14 = L · 16 = XL · 18 = 2XL · 20 = 3XL · 22 = 4XL
Body measurements (cm)
| cm | 00 | 0 | 2 | 4 | 6 | 8 | 10 | 12 | 14 | 16 | 18 | 20 | 22 |
|---|---|---|---|---|---|---|---|---|---|---|---|---|---|
| Waist | 63.5 | 66 | 68.8 | 71.2 | 73.8 | 76.2 | 78.8 | 82.8 | 87.5 | 93.2 | 99 | 104.8 | 110.5 |
| Hips | 87.8 | 90.2 | 92.8 | 95.2 | 98 | 100.2 | 102.8 | 106.5 | 111 | 115.5 | 120.8 | 125.8 | 130.8 |
Body measurements (inches)
| in | 00 | 0 | 2 | 4 | 6 | 8 | 10 | 12 | 14 | 16 | 18 | 20 | 22 |
|---|---|---|---|---|---|---|---|---|---|---|---|---|---|
| Waist | 25.0 | 26.0 | 27.1 | 28.1 | 29.0 | 30.0 | 31.0 | 32.6 | 34.4 | 36.7 | 39.0 | 41.2 | 43.5 |
| Hips | 34.5 | 35.5 | 36.5 | 37.5 | 38.6 | 39.5 | 40.5 | 41.9 | 43.7 | 45.5 | 47.5 | 49.5 | 51.5 |
Finished garment measurements (cm)
| cm | 00 | 0 | 2 | 4 | 6 | 8 | 10 | 12 | 14 | 16 | 18 | 20 | 22 |
|---|---|---|---|---|---|---|---|---|---|---|---|---|---|
| Waist | 64.8 | 67.3 | 70.2 | 72.7 | 75.3 | 77.8 | 80.4 | 84.5 | 89.3 | 95.2 | 101 | 106.9 | 112.8 |
| Hips | 90.4 | 93 | 95.5 | 98.1 | 101 | 103.3 | 105.9 | 109.8 | 114.6 | 120.2 | 126.4 | 132.4 | 138.5 |
| Hem width | 82.4 | 85 | 87.6 | 90.2 | 93 | 95.4 | 98 | 101.8 | 106.6 | 112.2 | 118.4 | 124.4 | 130.5 |
| Length* | 57.2 | 57.1 | 57.1 | 57.1 | 57 | 57 | 56.8 | 56.9 | 56.9 | 56.7 | 56.6 | 56.5 | 56.5 |
| Vent | 15.8 | 15.7 | 15.7 | 15.6 | 15.5 | 15.5 | 15.4 | 15.4 | 15.3 | 15.2 | 15 | 14.9 | 14.8 |
Fabric and notions per size
| Sizes 00–6 | Sizes 8–14 | Sizes 16–22 | |
|---|---|---|---|
| Main 150 cm / 60″ | 0.8 m / 7/8 yd | 0.8 m / 7/8 yd | 1.4 m / 1 5/8 yd |
| Main 115 cm / 45″ | 1.0 m / 1 1/8 yd | 1.4 m / 1 5/8 yd | 1.4 m / 1 5/8 yd |
| Interfacing 90 cm / 36″ | 0.3 m / 3/8 yd | 0.3 m / 3/8 yd | 0.3 m / 3/8 yd |
| Invisible zipper | 22 cm (9″) | 22 cm (9″) | 22 cm (9″) |
| Button 1 cm (3/8″) | 1 | 1 | 1 |
Common fit adjustments
- Shorter skirt: cut off up to 5 cm (2″) at the lower edge; the vent becomes shorter by the same amount.
- Waist and hips in different sizes: cut the waist in one size and blend to the other size at the hip notch.
- Pulls across the hips: let out both side seams a little at the hips.
- Loose at the waist only: take in the side seams at the top and taper to nothing at the hip notch.
Sewing notes
Fit and style
Baste the side seams and try the skirt on before stitching: it should be smooth over the hips without horizontal pulls. Change both side seams by the same amount so they stay straight. Press every dart and seam as soon as you sew it, over a rolled towel for the darts.
Cutting out
Cut the front on a single layer of fabric, right side up. Fold the fabric right sides together, selvage to selvage, and cut both backs at once to get a left and a right back. Fuse the interfacing to the waistband, and a strip on each vent extension if you like. Finish the raw edges of the front and backs before you start sewing.
Choosing fabric
Best fabrics: medium-weight woven fabrics with some body that press well: wool suiting, gabardine, crepe, tweed, cotton twill or sateen, lightweight denim, linen blends, brocade and jacquard. A touch of elastane (2–3%) adds comfort.
Fabrics to avoid:
- Knits: the skirt is drafted for woven fabric with a zipper
- Very thin or drapey fabrics like chiffon or viscose challis, which cling and show the darts
- Heavy coating, which makes the vent and waistband bulky
Pre-wash your fabric the way you will wash the finished skirt, and add extra for prints and plaids that need matching.
Step-by-Step Sewing Instructions
Seam allowances are 1 cm (3/8″). Sew with right sides together and press every seam before you cross it with another.
- Prepare and mark the pieces and mark the left and right back.
- Sew the darts and press them over a rolled towel.
- Prepare the vent edges on both backs.
- Insert the invisible zipper at the center back.
- Sew the center back seam and the vent, then topstitch the vent.
- Sew the side seams and check the fit.
- Attach the waistband with its button underlap.
- Finish the vent corners at the hem.
- Hem the skirt by hand or with a blind hem stitch.
- Sew the buttonhole and the button.
- Final press with a pressing cloth.
Stuck on a step? Sew it with pictures.
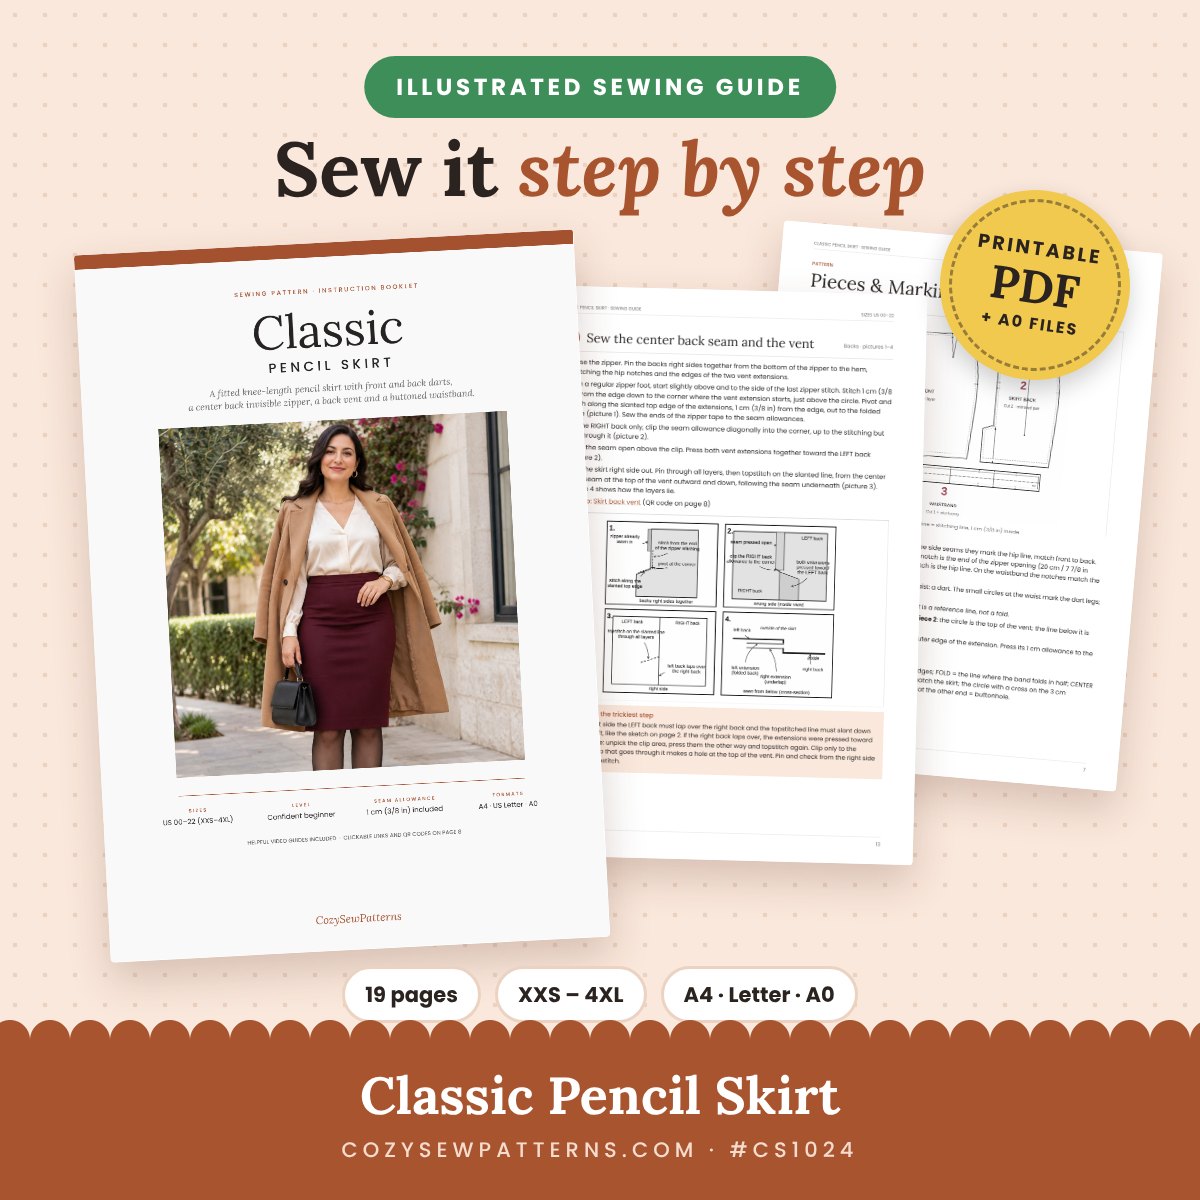
The full illustrated guide for the Classic Pencil Skirt shows every step in clear drawings, from the darts and the invisible zipper to the back vent and the buttoned waistband.
- A diagram for every step, 19 pages
- Size charts, finished measurements and fabric amounts
- Beginner tips + video guides with QR codes
- A0 file included · instant PDF download
Español · Italiano · Deutsch · Français · Nederlands…
Buy the guide, then email us your language. Free, delivered in 48–72h.
♥ Every guide you buy keeps our patterns free.
Tips and common mistakes
- Vent lapping the wrong way: mark L and R on the backs while the pattern is still pinned on, and check from the right side before you topstitch.
- Bubble at the dart point: draw the stitching line with a ruler and let the last 1 cm (3/8″) run very close to the fold.
- Crooked waistband: close the zipper and mark the waist seamline and hip notch on the second tape before you stitch it.
- Visible hem stitches: catch only one or two threads of the skirt with each stitch and do not pull tight.
- Shiny wool: press through a pressing cloth with plenty of steam.
How to style it
- Office: with a tucked-in silk blouse; try our free Bishop Sleeve Blouse.
- Winter: with a fine sweater or our Fitted Turtleneck Top, tights and ankle boots.
- With a coat: a camel or wool coat over the shoulders, as in the photo; see our Mandarin Collar Coat.
- Colour ideas: burgundy, charcoal, black or a small houndstooth check.
Care
Follow the care advice of your fabric. For wool, dry-clean or hand-wash gently. Press on the wrong side or through a pressing cloth, and hang the skirt from the waistband.
Questions
Is the pattern really free?
Yes. The A4 and US Letter pattern files are free. The illustrated step-by-step guide and the A0 file are available for a small coffee.
Is a pencil skirt hard to sew?
It is a good project for a confident beginner: there are only three pattern pieces. You will learn darts, an invisible zipper, a back vent and a buttonhole. The vent is the trickiest step, so read it through before you start and pin it before you topstitch.
Do I need an invisible zipper foot?
It makes the zipper disappear best, but a regular zipper foot also works: stitch slowly and as close to the coil as you can.
What seam allowance is included?
1 cm (3/8″) on all seams and 2 cm (3/4″) at the hem. They are included in the pattern.
Which size should I choose?
Choose by your hip measurement, then blend to another size at the waist if needed. Between two sizes, take the larger one.
Which paper sizes can I print?
A4 and US Letter are free to download, one file per size. The A0 file comes with the illustrated guide.
What should I sew next?
For the full outfit, add our Bishop Sleeve Blouse #CS1004 or the Fitted Turtleneck Top #CS1005, free too.
Happy sewing!