If your sewn garment turned out a size too big or too small, the culprit is often not the pattern but the seam allowance. It is a tiny measurement, usually just 1 or 1.5 cm, but it is added to every seam of the garment, so a small mistake adds up fast.
This guide explains what seam allowance is, which widths are standard, how to check whether it is included in your pattern, and how to sew, trim and press it for a neat, professional finish.
What is seam allowance?
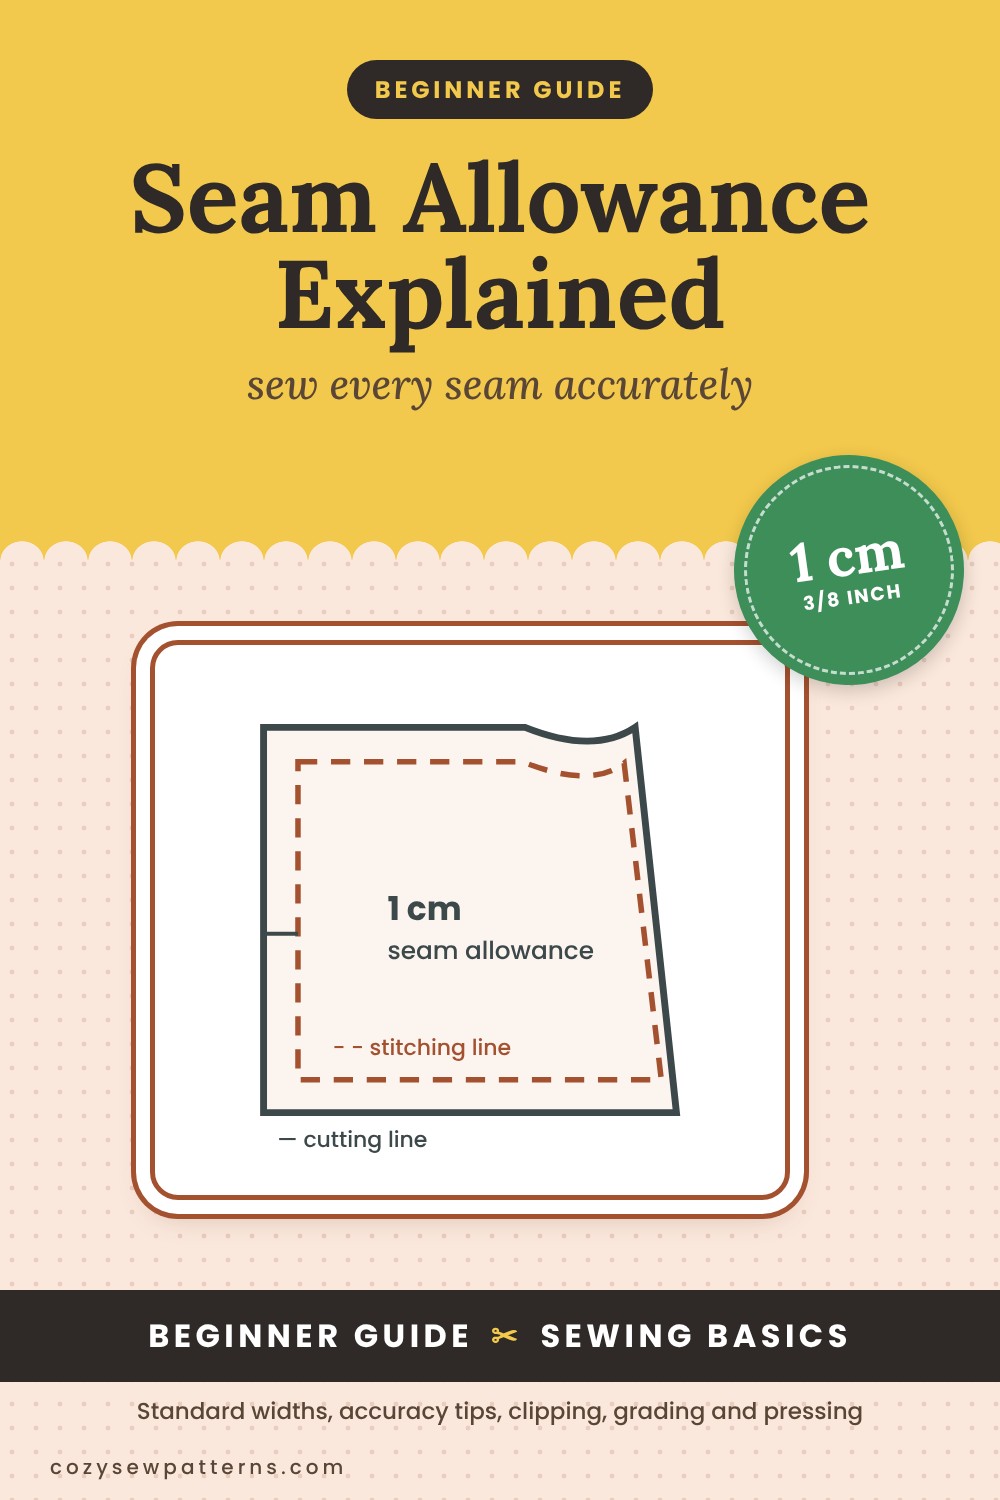
Seam allowance is the strip of fabric between the cut edge and the stitching line. When you sew two pieces together, the stitching does not run along the edge, it runs a set distance inside it. That margin stops the seam from fraying apart and gives you room to finish the edges and adjust the fit.
On a pattern piece, the solid outer line is the cutting line. Some patterns also show a dashed line inside it: that is the stitching line.
Standard seam allowance widths
| Width | Where you find it |
|---|---|
| 1.5 cm (5/8″) | Most big commercial paper patterns |
| 1 cm (3/8″) | Many independent PDF patterns, including all CozySewPatterns patterns |
| 6 mm (1/4″) | Knit patterns sewn on a serger, quilting, doll clothes |
| 2–4 cm (3/4–1 1/2″) | Hems, and generous allowances on fitting seams for adjustments |
There is no single “right” width. What matters is that you sew exactly the width your pattern was drafted for.
Is seam allowance included in my pattern?
Most modern patterns include it, but not all. Look for a note on the pattern pieces or in the instructions, such as “1 cm (3/8″) seam allowance included”. Some vintage, European magazine and “trace-your-own” patterns do not include any, and you must add it yourself before cutting.
How to sew an accurate seam allowance
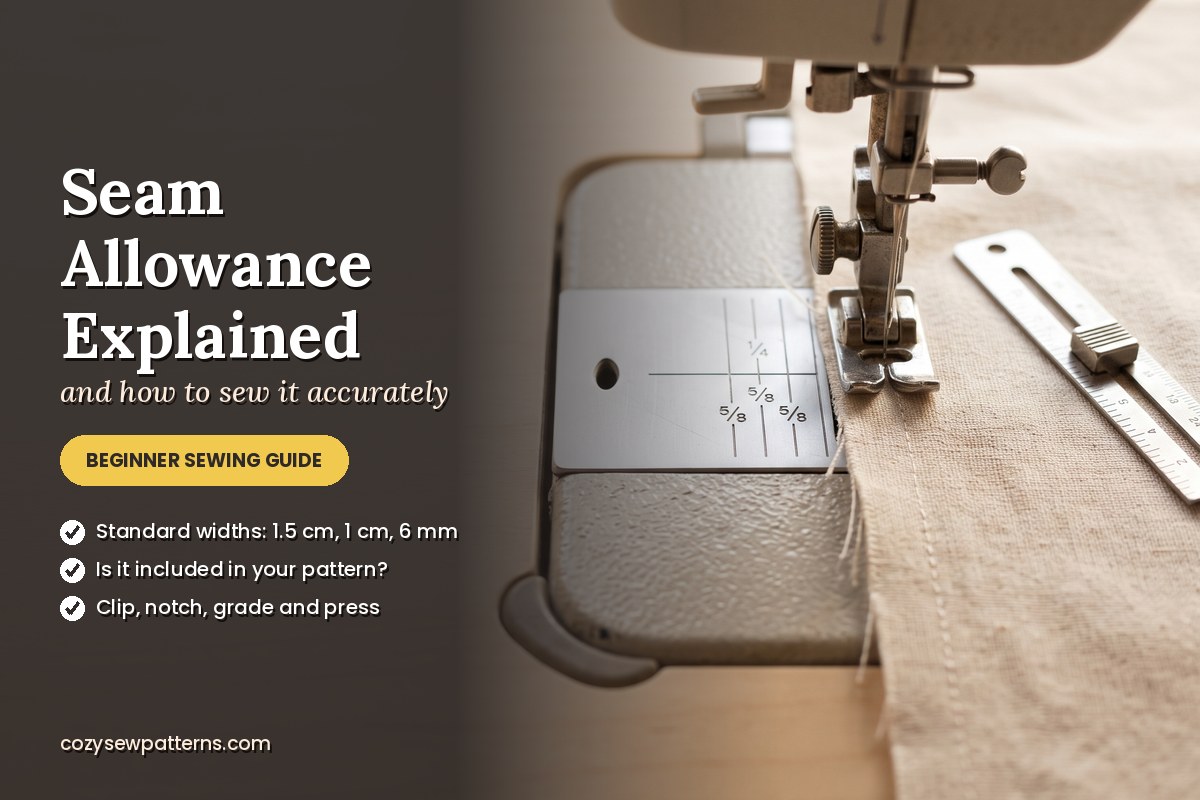
- Use the throat plate guides. The lines engraved on your machine’s needle plate are marked in millimetres or eighths of an inch, measured from the centre needle position. Keep the fabric edge on the right line, and watch the line, not the needle.
- Add a visual guide. If your plate has no line for your width, stick a piece of washi tape or a magnetic seam guide (not on computerised machines) at the right distance.
- Check the needle position. If you moved the needle left or right for another job, the plate guides are no longer accurate. Return it to centre.
- Sew slowly on curves, keeping the edge on the guide just in front of the needle.
Curves: staystitch, clip and notch
Curved seams need a little help to lie flat once turned:
- Staystitch curved edges such as necklines and armholes just inside the seam allowance before you start, so the bias edge cannot stretch.
- Clip inward curves (like a neckline): make small straight snips into the seam allowance, close to but not through the stitching, so it can spread.
- Notch outward curves (like a collar edge or a curved hem): cut small V shapes out of the allowance so it does not bunch when turned.
- Corners: trim across the point of an outward corner, and clip right into the stitching of an inward corner.
Trimming and grading seams
Inside collars, facings and waistbands, several seam allowances pile up and make a thick ridge. Trim them to about 5 mm (1/4″), then grade them: cut each layer to a slightly different width, with the widest one against the outside of the garment. The step hides the edges and stops a ridge showing through.
Pressing and finishing the seam allowance
- Press every seam before you cross it with another one. First press it flat as sewn to set the stitches, then press it open or to one side.
- Pressed open: flattest result, the usual choice for most seams on wovens.
- Pressed to one side: used for French seams, flat-felled seams, yokes and topstitched seams.
- Finish the raw edges with a serger, a zigzag stitch, pinking shears or bias binding, so they do not fray in the wash.
Seam allowance vs hem allowance
The hem allowance is the extra length at the bottom edge of a garment or sleeve that is folded up to make the hem. It is usually wider than the seam allowance, often 2–4 cm (3/4–1 1/2″), and is listed separately on the pattern. For example, our patterns use a 1 cm (3/8″) seam allowance and, on most garments, a 2 cm (3/4″) hem.
Practise on a free pattern
All CozySewPatterns patterns include a 1 cm (3/8″) seam allowance and come in sizes XXS–4XL, with A4 and US Letter files.
Frequently asked questions
What is the standard seam allowance?
Big commercial patterns usually use 1.5 cm (5/8 inch). Many independent PDF patterns use 1 cm (3/8 inch), and knit patterns for sergers often use 6 mm (1/4 inch). Always sew the width given in your pattern.
How do I know if seam allowance is included?
Look for a note on the pattern pieces or in the instructions. If the pattern says nothing, check the size chart page or contact the designer; some vintage and magazine patterns do not include it.
What happens if I sew the wrong seam allowance?
The garment changes size. Sewing every seam just a few millimetres too wide can make a garment a whole size smaller around the body.
Should I press seams open or to one side?
Press most seams on woven fabrics open for the flattest finish. Press to one side for French seams, flat-felled seams, yokes and topstitched seams.
Happy sewing!