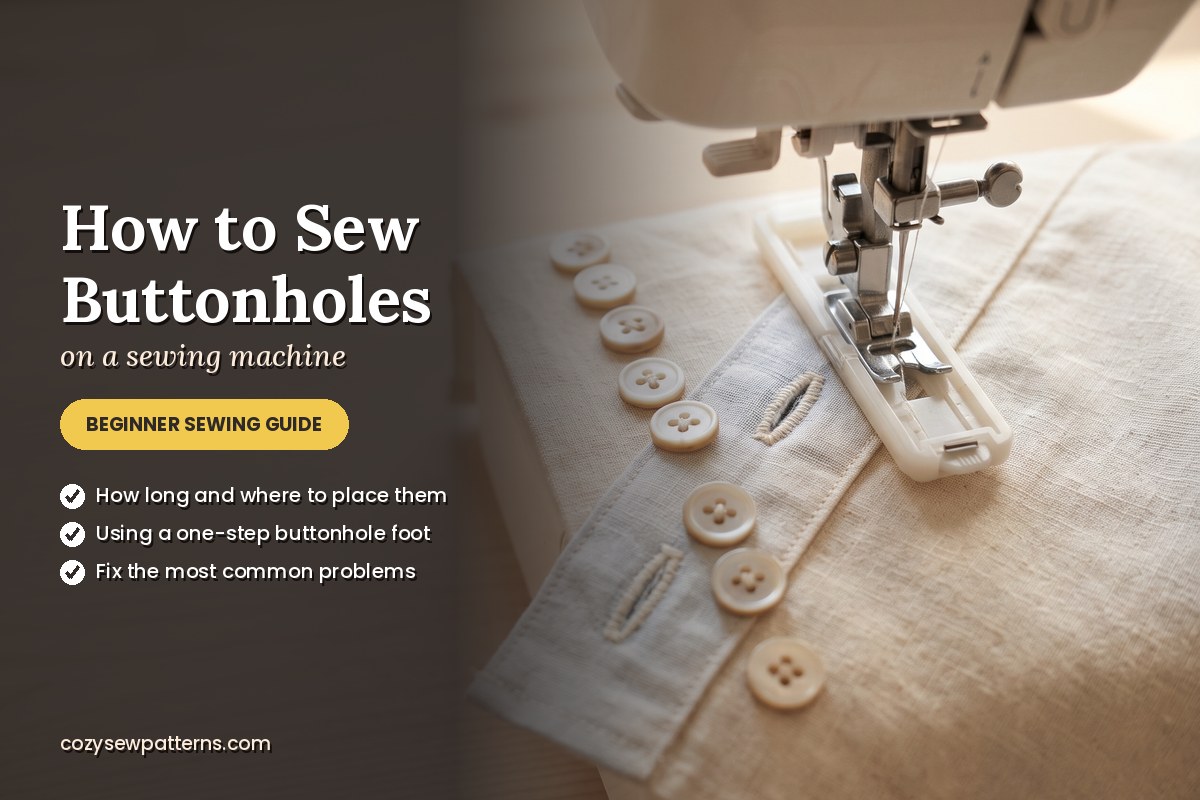
Buttonholes are the step many beginners dread. They come right at the end, when the garment is almost finished, and one wobbly buttonhole sits right at the front for everyone to see. The good news: modern sewing machines do almost all the work, and with a little preparation sewing buttonholes is easy.
In this guide you will learn how to sew buttonholes on a sewing machine: how long to make them, where to put them, how to use a buttonhole foot, how to open them without cutting too far, and how to fix the usual problems.
One-step vs four-step buttonholes
- One-step (automatic): you put the button in the back of the buttonhole foot and the machine measures and sews the whole buttonhole in one go. Every buttonhole comes out the same length.
- Four-step: you turn a dial through four positions (side, end, other side, end) and decide the length yourself by watching the marks. It works perfectly, it just needs a little more attention.
Check your machine manual to see which type you have. Most machines made in the last 20 years have a one-step buttonhole.
How long should a buttonhole be?
The simple rule: buttonhole length = button diameter + button thickness. For a flat button, that is roughly the diameter plus 3 mm (1/8″). Domed, shank or chunky buttons need a little more.
| Button diameter | Flat button: buttonhole length |
|---|---|
| 1 cm (3/8″) | about 1.3 cm (1/2″) |
| 1.5 cm (5/8″) | about 1.8 cm (3/4″) |
| 2 cm (3/4″) | about 2.3 cm (7/8″) |
| 2.5 cm (1″) | about 2.8 cm (1 1/8″) |
Placement and spacing
- Vertical or horizontal? Vertical buttonholes sit along narrow plackets, like shirt and blouse fronts. Horizontal buttonholes are used on waistbands, coats and jackets, where the pull is sideways.
- Centre front: buttons always sit on the centre front line. A vertical buttonhole sits on the centre front; a horizontal one starts about 3 mm (1/8″) past the centre front, towards the edge.
- Key buttons first: place one button at the neckline and, on fitted tops and dresses, one level with the fullest part of the bust so the front does not gape. Space the rest evenly.
- Use the pattern marks if your pattern has them. If you change the length of the garment, re-space them evenly.
Prepare: interfacing and a test
A buttonhole needs a firm base. The placket, waistband or facing under it should always be interfaced; without it, the fabric stretches and puckers as the machine sews.
Before touching your garment, sew one test buttonhole on a scrap with exactly the same layers: fabric, interfacing and fabric. Check the length, the stitch density and that your button fits.
Step by step: sewing a one-step buttonhole
- Mark each buttonhole with a chalk line, plus a small line at the end where it starts.
- Put the button in the back of the buttonhole foot and snap the foot on.
- Select the buttonhole stitch and pull down the buttonhole lever behind the needle. The machine will not sew properly if you forget this.
- Place the fabric so the needle starts exactly at your start mark, and lower the foot.
- Sew at a steady, medium speed. Let the machine feed the fabric; do not push or pull it.
- The machine stops when the buttonhole is finished. Pull the threads to the back and knot them.
Opening the buttonhole
Place a pin across each end of the buttonhole, just inside the bar tacks. Push a seam ripper from one end towards the pin, and the pin will stop you cutting through the end. A small buttonhole chisel on a cutting mat gives an even cleaner cut.
If your fabric frays, dab a little fray check on the cut edges and let it dry.
Sewing on the buttons
- Button the garment matching the necklines and hems, and push a pin or chalk through each buttonhole onto the other side to mark the button positions.
- Sew each button with a double thread, making 6–8 passes through the holes.
- On thick fabrics like coats or corduroy, leave a little slack and wrap the thread around it a few times under the button to make a thread shank. It lets the button sit on top of the buttonhole layers.
- Finish with a few small stitches on the back.
Troubleshooting buttonholes
| Problem | Likely cause | Fix |
|---|---|---|
| Machine sews one side, then stops | Buttonhole lever not pulled down | Lower the lever behind the foot |
| Sides are uneven or crooked | Fabric dragging or thick seam under the foot | Support the fabric; add tear-away stabiliser |
| Stitches bunch up | Fabric too soft, no interfacing | Interface the area; use stabiliser |
| Buttonhole too small | Domed or thick button | Lengthen it by 2–3 mm (1/8″) |
| Foot stalls on corduroy ribs | Pile catching | Stabiliser underneath; sew with the ribs |
A buttonhole gone wrong? Unpick it carefully from the back with a seam ripper, press, and sew it again on the same spot.
Practise with a free pattern
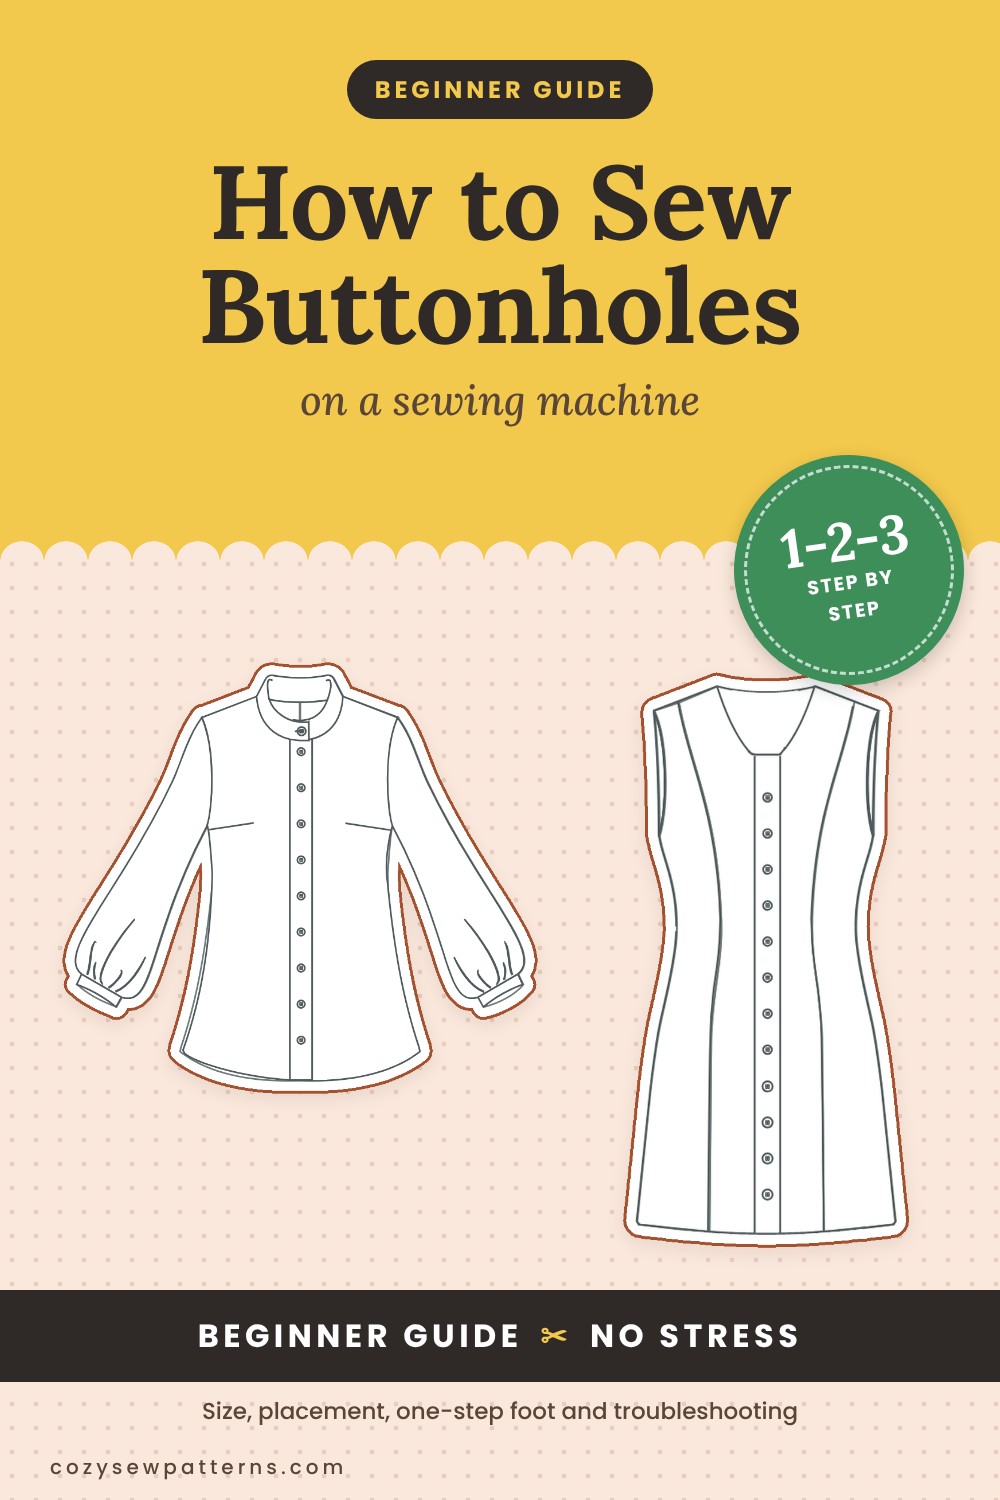
These free patterns have buttons and are perfect for practising your buttonholes, in sizes XXS–4XL.
Frequently asked questions
How long should a buttonhole be?
Make it the diameter of the button plus its thickness. For a flat button that is about the diameter plus 3 mm (1/8 inch). Always check on a test buttonhole first.
Do I need interfacing for buttonholes?
Yes. Interfacing under the buttonhole stops the fabric stretching and puckering while the machine sews and keeps the buttonhole firm when you use it.
Should buttonholes be vertical or horizontal?
Vertical buttonholes suit narrow plackets on shirts, blouses and dresses. Horizontal buttonholes suit waistbands, jackets and coats, where the pull is sideways.
Why does my machine stop halfway through a buttonhole?
Usually the buttonhole lever behind the needle is not pulled down. Lower it so it touches the back of the buttonhole foot and start again.
Happy sewing!