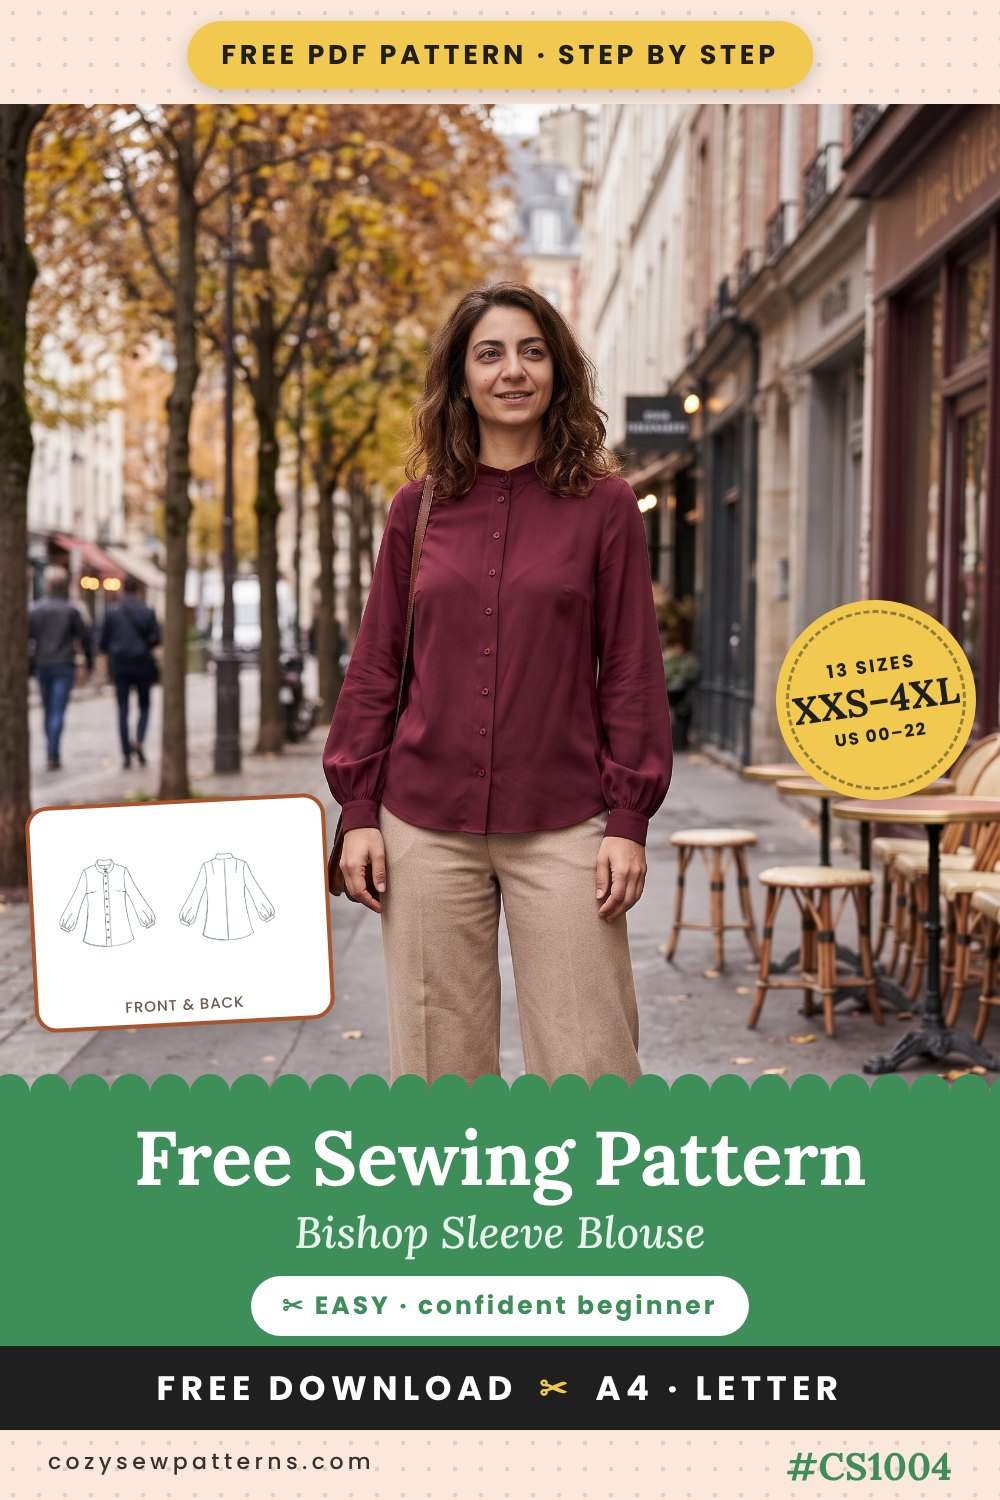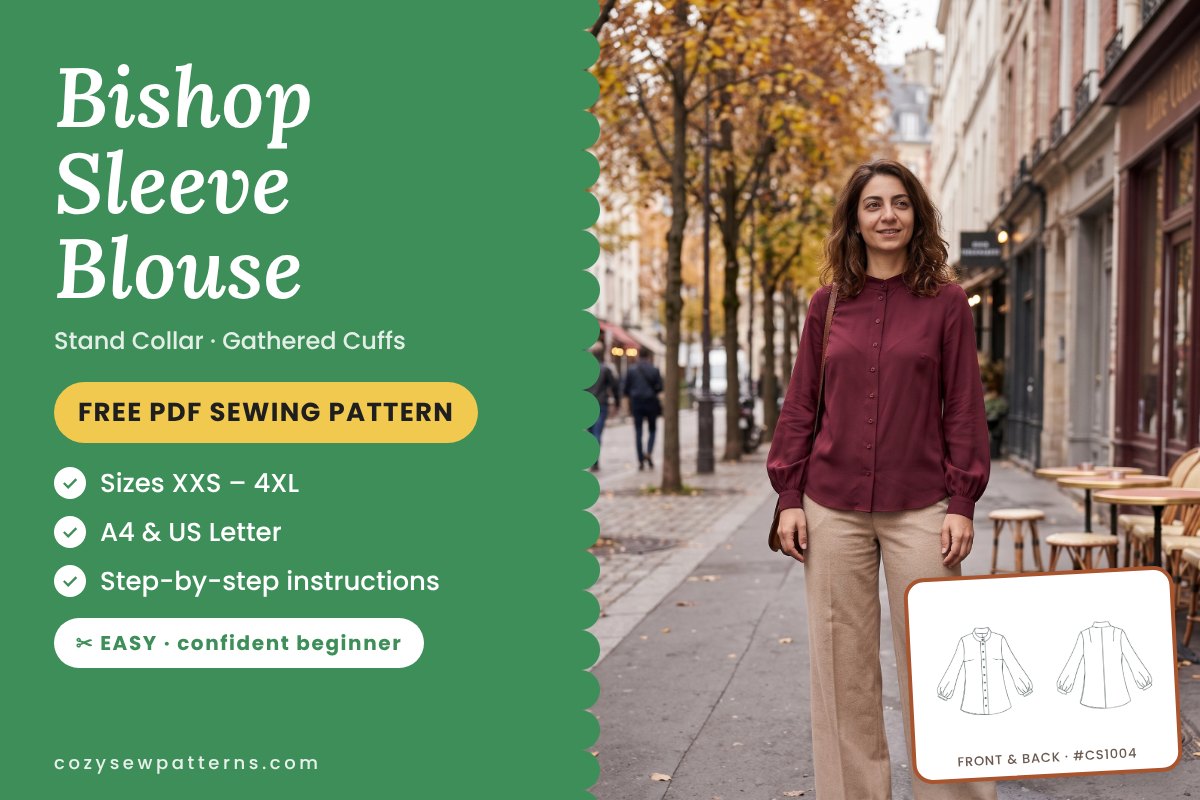
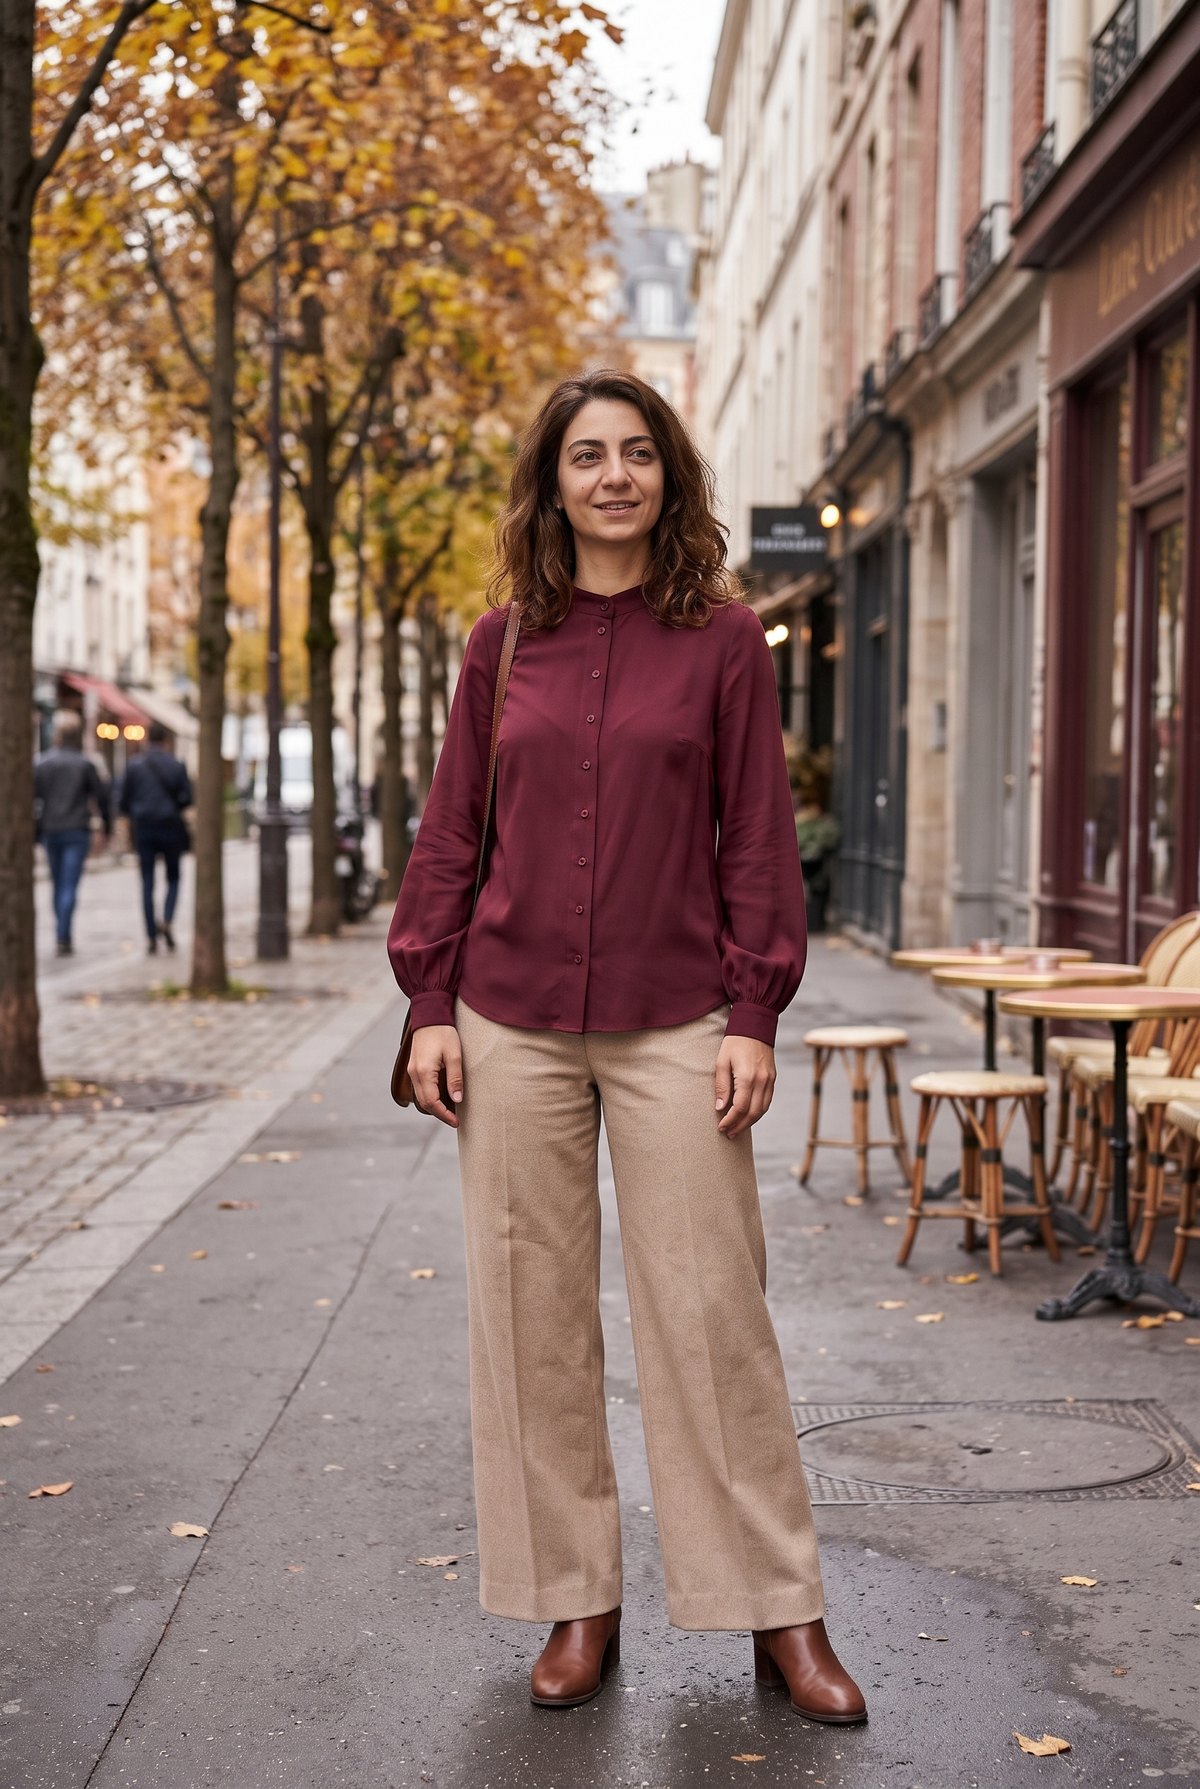
A soft, easy-going blouse with a romantic touch: a small stand collar that closes with one button at the throat, a slim button placket down the front and full bishop sleeves gathered into narrow cuffs. Bust darts, little shoulder darts and a shaped center-back seam keep it neat, while the body flares gently to a curved hem at the low hip. Tuck it into high-waisted trousers or a skirt, or wear it loose over jeans.
Download the free PDF sewing pattern in A4 and US Letter, and sew your own bishop sleeve blouse!
Materials
- Main fabric: 1.8–2.2 m (2–2 1/2 yd) of 150 cm (60″) wide fabric, or 2.2–3.0 m (2 1/2–3 3/8 yd) of 115 cm (45″) wide fabric. Choose a light to medium-weight woven with good drape: cotton lawn, voile, poplin, viscose challis or twill, crepe de chine, Tencel, chambray or lightweight linen
- Light fusible interfacing: 0.8–0.9 m (7/8–1 yd), 90 cm (36″) wide, for the cuffs, collar stand, placket and button facing
- Buttons: 10 (sizes 00–16) or 11 (sizes 18–22), 1 cm (3/8″) diameter: one for the collar, the rest for the placket
- All-purpose thread, a contrasting thread for basting and gathering, and a point turner
For autumn and winter, brushed cotton, light flannel or viscose twill work well; for the holidays, try a soft satin or georgette. Avoid knits and stiff, thick fabrics: the gathers and the collar stand get bulky.
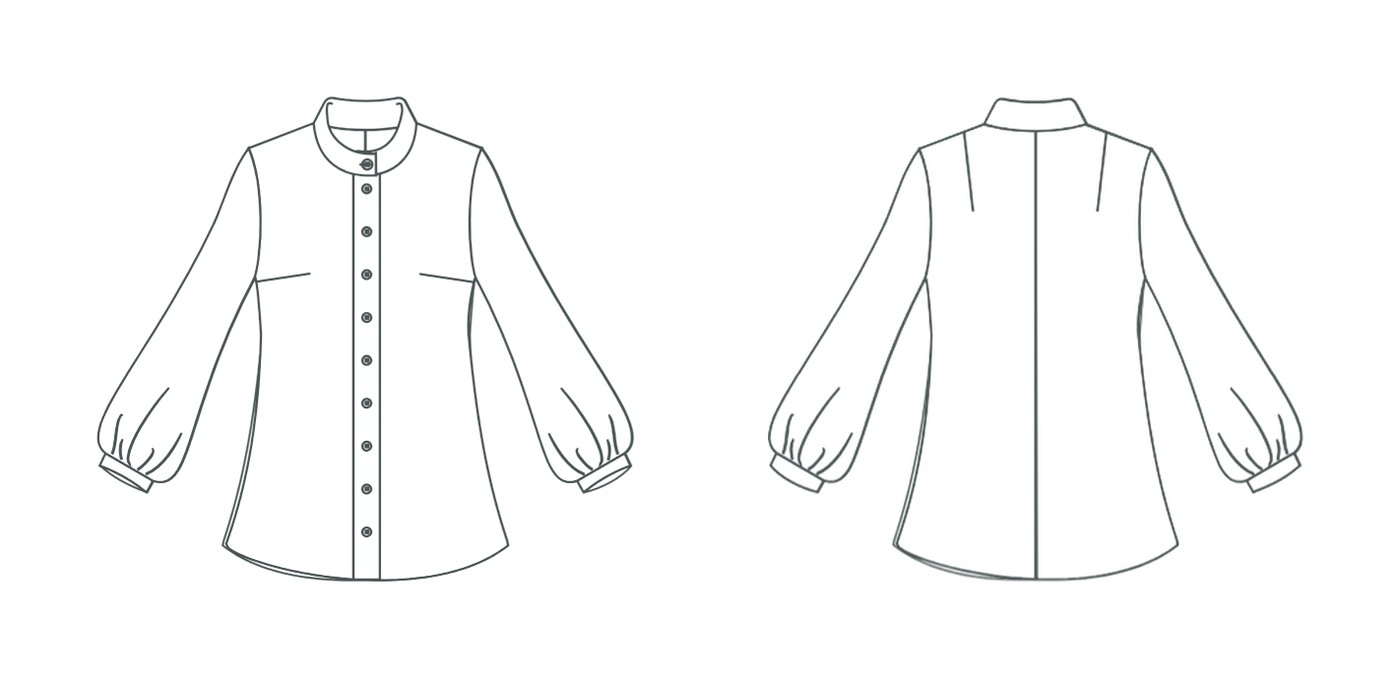
Pattern pieces
- Right Front, main fabric: cut 1
- Left Front, main fabric: cut 1
- Back, main fabric: cut 2
- Sleeve, main fabric: cut 2
- Cuff, main fabric + interfacing: cut 2 + 2
- Left Front Button Facing, main fabric + interfacing: cut 1 + 1
- Collar Stand, main fabric + interfacing: cut 2 + 2
- Right Front Placket, main fabric + interfacing: cut 1 + 1
Cut every piece on a single layer, right side up, with the grainline parallel to the selvage; flip the Back and Sleeve over for the second piece. The two fronts are different (the left one is wider because it carries the buttons). The collar stand is printed whole: the word FOLD in its middle only marks the center back. Transfer the darts, notches, gather dots and button marks.
Download the free PDF sewing pattern
One file per size, in the paper format that suits you. Share your finished blouse with #cozysewpatterns!
 A0 + Step-by-step guideGet it here ↓
Unzip the folder first. Print page 1 at 100% (actual size) and measure the 10 cm (4″) calibration square before printing the rest. Trim the margins and tape the pages together, matching the markers. The A0 file comes with the illustrated guide below.
Sizing guide
Drafted for a height of 1.68 m (5′6″). Choose your size by bust measurement. The blouse has about 6–8 cm (2 3/8–3 1/8″) of ease at the bust and about 10 cm (4″) at the low hip: between two sizes, take the smaller one for a neater fit or the larger one for a looser look.
Letter sizes: 00 = XXS · 0/2 = XS · 4/6 = S · 8/10 = M · 12/14 = L · 16 = XL · 18 = 2XL · 20 = 3XL · 22 = 4XL
Body measurements (cm)
| cm | 00 | 0 | 2 | 4 | 6 | 8 | 10 | 12 | 14 | 16 | 18 | 20 | 22 |
|---|---|---|---|---|---|---|---|---|---|---|---|---|---|
| Bust | 80 | 82.5 | 85 | 87.75 | 90.25 | 92.75 | 95.25 | 99.25 | 104.25 | 109.25 | 114.25 | 119.25 | 124.25 |
| Waist | 63.5 | 66 | 68.75 | 71.25 | 73.75 | 76.25 | 78.75 | 82.75 | 87.5 | 93.25 | 99 | 104.75 | 110.5 |
| Hips | 87.75 | 90.25 | 92.75 | 95.25 | 98 | 100.25 | 102.75 | 106.5 | 111 | 115.5 | 120.75 | 125.75 | 130.75 |
Body measurements (inches)
| in | 00 | 0 | 2 | 4 | 6 | 8 | 10 | 12 | 14 | 16 | 18 | 20 | 22 |
|---|---|---|---|---|---|---|---|---|---|---|---|---|---|
| Bust | 31.5 | 32.5 | 33.5 | 34.5 | 35.5 | 36.5 | 37.5 | 39.1 | 41.0 | 43.0 | 45.0 | 46.9 | 48.9 |
| Waist | 25.0 | 26.0 | 27.1 | 28.1 | 29.0 | 30.0 | 31.0 | 32.6 | 34.4 | 36.7 | 39.0 | 41.2 | 43.5 |
| Hips | 34.5 | 35.5 | 36.5 | 37.5 | 38.6 | 39.5 | 40.5 | 41.9 | 43.7 | 45.5 | 47.5 | 49.5 | 51.5 |
Finished garment measurements (cm)
| cm | 00 | 0 | 2 | 4 | 6 | 8 | 10 | 12 | 14 | 16 | 18 | 20 | 22 |
|---|---|---|---|---|---|---|---|---|---|---|---|---|---|
| Bust | 86.4 | 88.9 | 91.8 | 94.7 | 97.4 | 100.3 | 102.9 | 107 | 111.9 | 116.6 | 121.2 | 126 | 130.5 |
| Low hip | 93.2 | 95.8 | 98.7 | 101.9 | 105.5 | 108.9 | 112 | 116.2 | 120.9 | 126.4 | 131.8 | 137.5 | 142.7 |
| Hem width | 134.1 | 136.1 | 138.8 | 141.5 | 144.5 | 147.3 | 149.9 | 153.2 | 157.7 | 163.3 | 169 | 174.9 | 180.4 |
| Back length | 68.6 | 68.9 | 69.6 | 69.8 | 70 | 70 | 70.3 | 70.2 | 70.6 | 71.1 | 71.8 | 72.5 | 73 |
| Sleeve + cuff | 60.9 | 60.9 | 61 | 61 | 61 | 61.1 | 61.1 | 61.2 | 61.2 | 61.3 | 61.4 | 61.5 | 61.5 |
| Cuff | 21.8 | 21.4 | 22.9 | 23.2 | 23.6 | 24.4 | 24.8 | 25.1 | 25.5 | 25.9 | 26.6 | 27 | 27.4 |
Fabric and notions per size
| 00 | 0 | 2 | 4 | 6 | 8 | 10 | 12 | 14 | 16 | 18 | 20 | 22 | |
|---|---|---|---|---|---|---|---|---|---|---|---|---|---|
| 150 cm / 60″ wide (m) | 1.8 | 1.8 | 1.8 | 1.8 | 1.8 | 2.1 | 2.1 | 2.1 | 2.1 | 2.2 | 2.2 | 2.2 | 2.2 |
| 115 cm / 45″ wide (m) | 2.2 | 2.2 | 2.2 | 2.2 | 2.2 | 2.6 | 2.6 | 2.6 | 2.6 | 3.0 | 3.0 | 3.0 | 3.0 |
| Interfacing 90 cm / 36″ (m) | 0.8 | 0.8 | 0.8 | 0.8 | 0.8 | 0.8 | 0.8 | 0.8 | 0.8 | 0.9 | 0.9 | 0.9 | 0.9 |
| Buttons 1 cm (3/8″) | 10 | 10 | 10 | 10 | 10 | 10 | 10 | 10 | 10 | 10 | 11 | 11 | 11 |
Sewing notes
Fit and style
A relaxed, A-line blouse that skims the body and ends at the low hip. The cuff is a closed band with no opening: wrap a tape around your hand at its widest point and make sure the finished cuff is at least 1 cm (3/8″) bigger. If not, lengthen the cuff piece; the gathers just become a little softer. To change the length, add or remove the same amount at the hem of the fronts, back, placket and facing.
Fabrics
Choose a light woven that drapes, so the sleeves fall in soft gathers. Slippery fabrics such as viscose or crepe are easier with fine pins or clips, a new 70/10 or 80/12 needle and a stitch length of 2.2–2.5 mm.
Cutting out
Cut on a single layer, right side up. Fuse the interfacing to the cuffs, both collar stands, the placket and the button facing before sewing. Stitch one test buttonhole on a scrap with the same layers before you start.
Step-by-Step Sewing Instructions
Seam allowances are 1 cm (3/8″). Sew with right sides together and finish raw edges as you go.
- Staystitch the necklines and sew the bust darts and shoulder darts.
- Sew the center-back seam and press it open.
- Sew the placket to the right front and edgestitch it.
- Sew the button facing to the left front and turn it inside.
- Sew the shoulder seams.
- Make the collar stand and sew it to the neckline.
- Sew the side seams.
- Gather the sleeves and attach the cuffs.
- Sew the underarm seams and close the cuffs.
- Set in the sleeves.
- Hem the curved hem.
- Make the buttonholes and sew on the buttons, then give the blouse a final press.
Stuck on a step? Sew it with pictures.
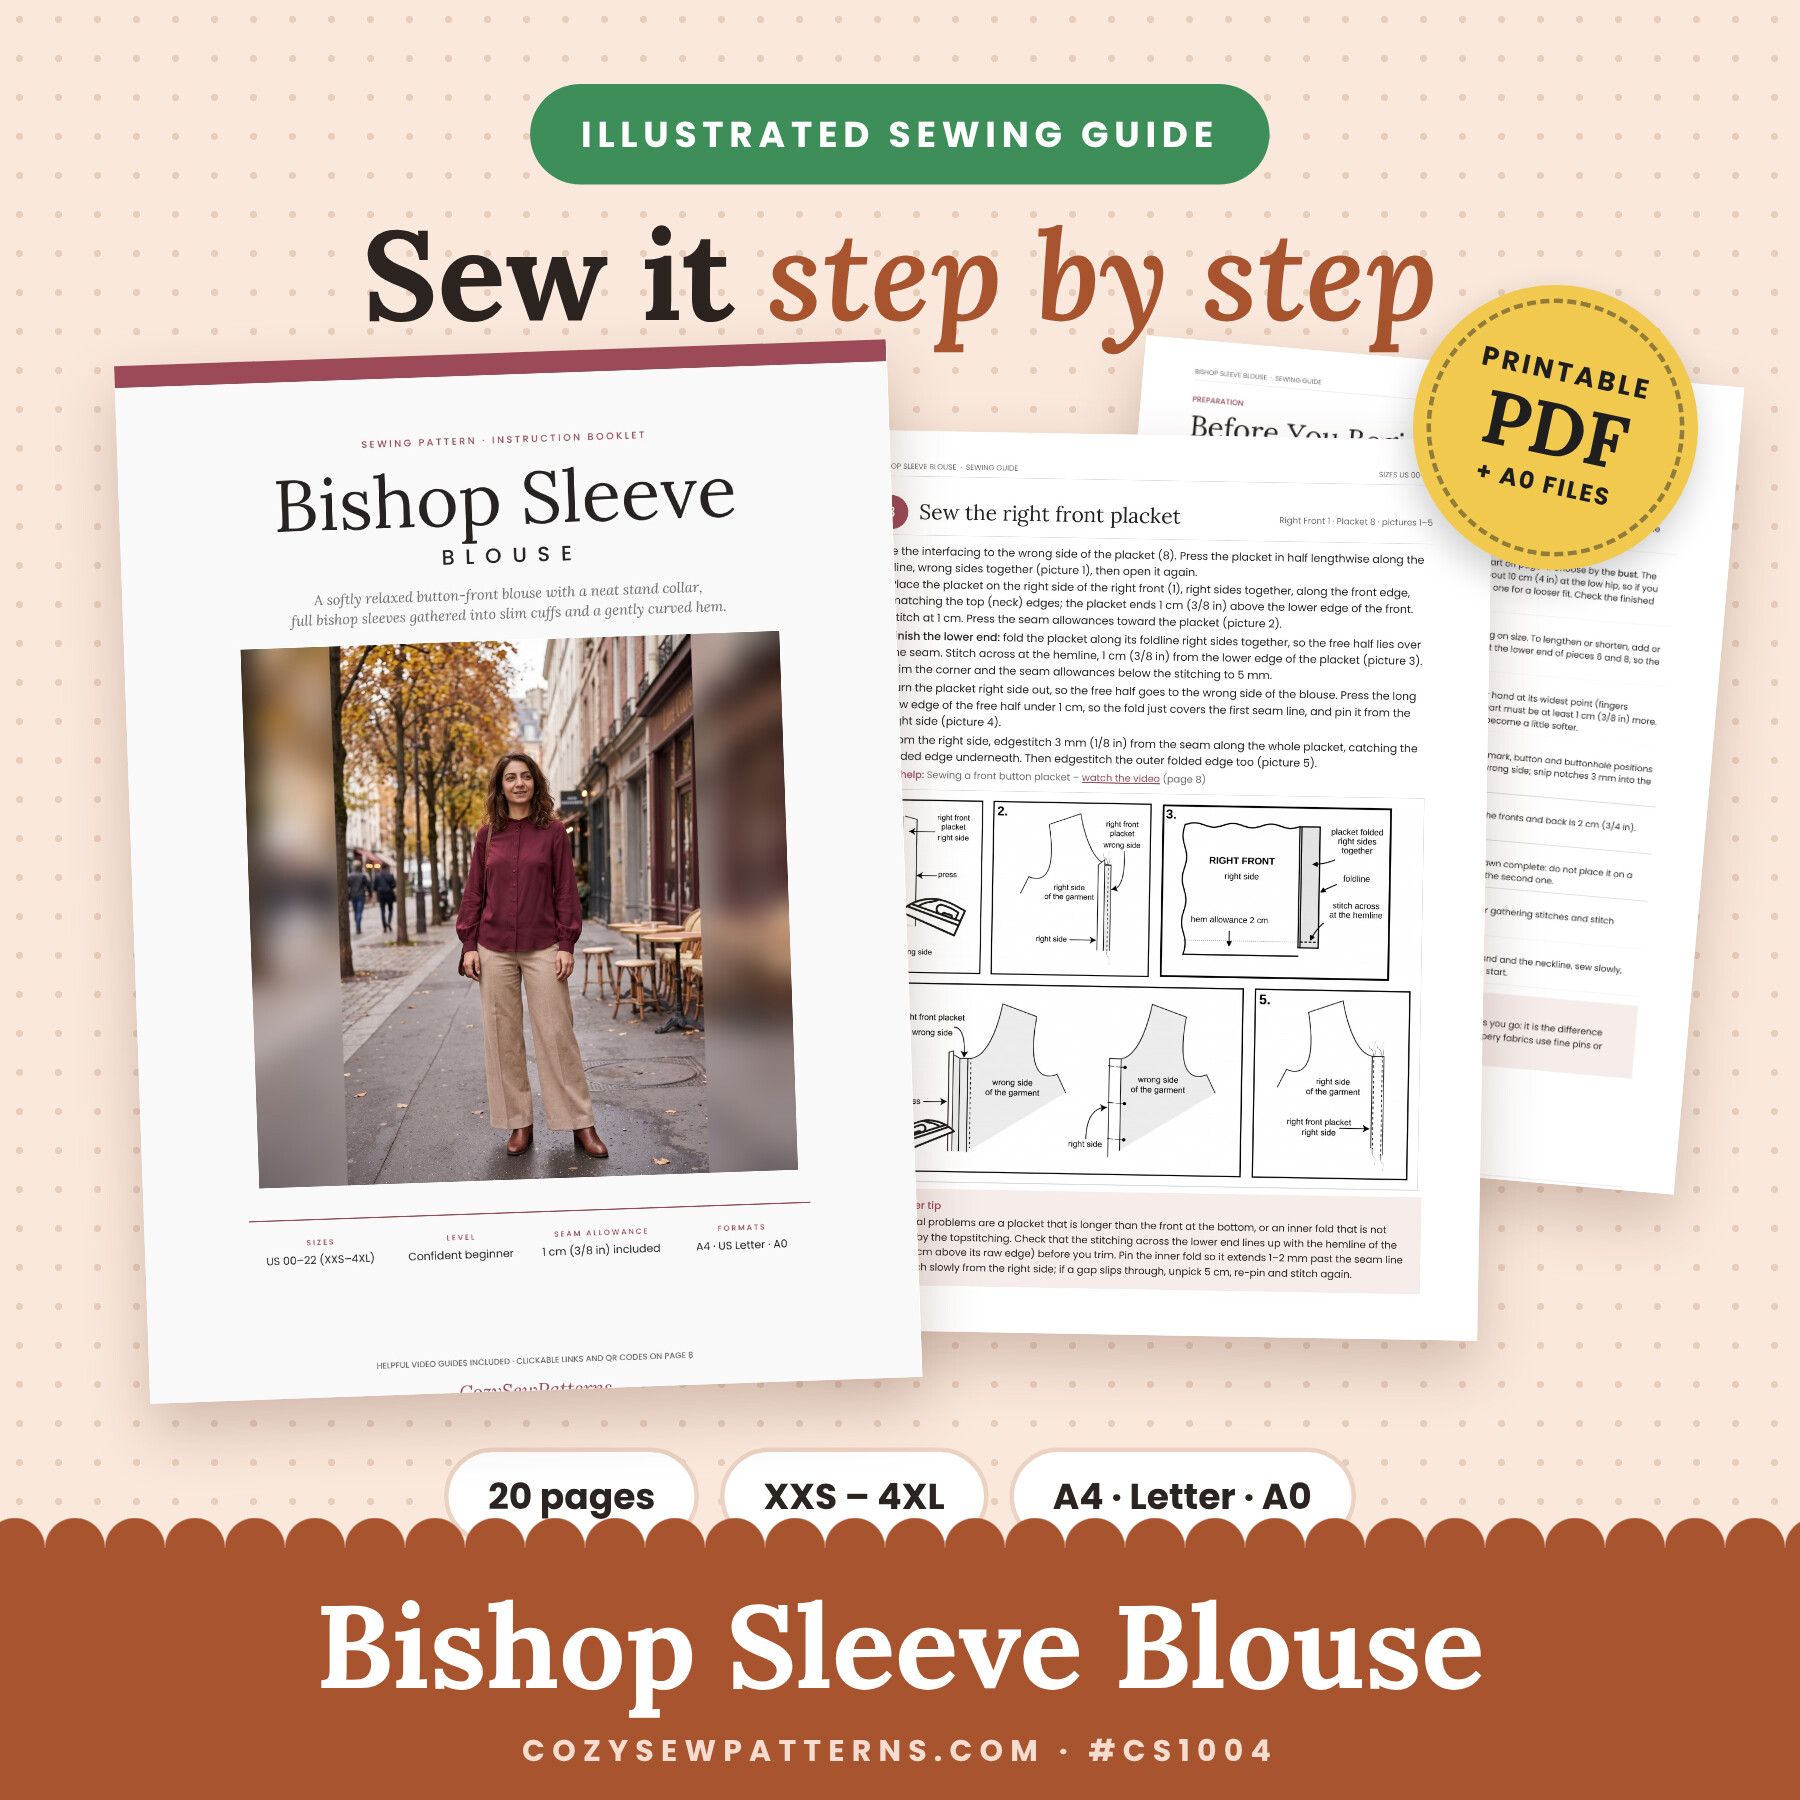
The steps above are a quick overview. The full illustrated guide walks you through every step with clear drawings: the darts, the front placket, the collar stand, the gathered bishop sleeves and cuffs, setting in the sleeves and the buttonholes. It also includes the A0 pattern file.
- Illustrated diagrams for every step
- Before-you-begin checklist and fit tips
- Video guides with QR codes for the key techniques
- A0 pattern file included
- Printable PDF, instant download
Español · Italiano · Deutsch · Français · Nederlands…
Buy the guide, then email us your language. Free, delivered in 48–72h.
♥ Every guide you buy keeps our patterns free.
Questions
Is the pattern really free?
Yes. The A4 and US Letter pattern files are free. The illustrated step-by-step guide and the A0 file are available for a small coffee.
Is the seam allowance included?
Yes: 1 cm (3/8″) on every seam and 2 cm (3/4″) at the hem.
Can a beginner sew this blouse?
Yes, if you have already made one or two simple garments. The new parts are the placket, the collar stand, the gathered sleeves and the buttonholes; take your time on the collar stand, it is the trickiest step.
Does the cuff open?
No. The cuff is a closed band that slips over your hand, so there is no cuff placket or button. Check the cuff size against your hand before cutting.
Happy sewing!