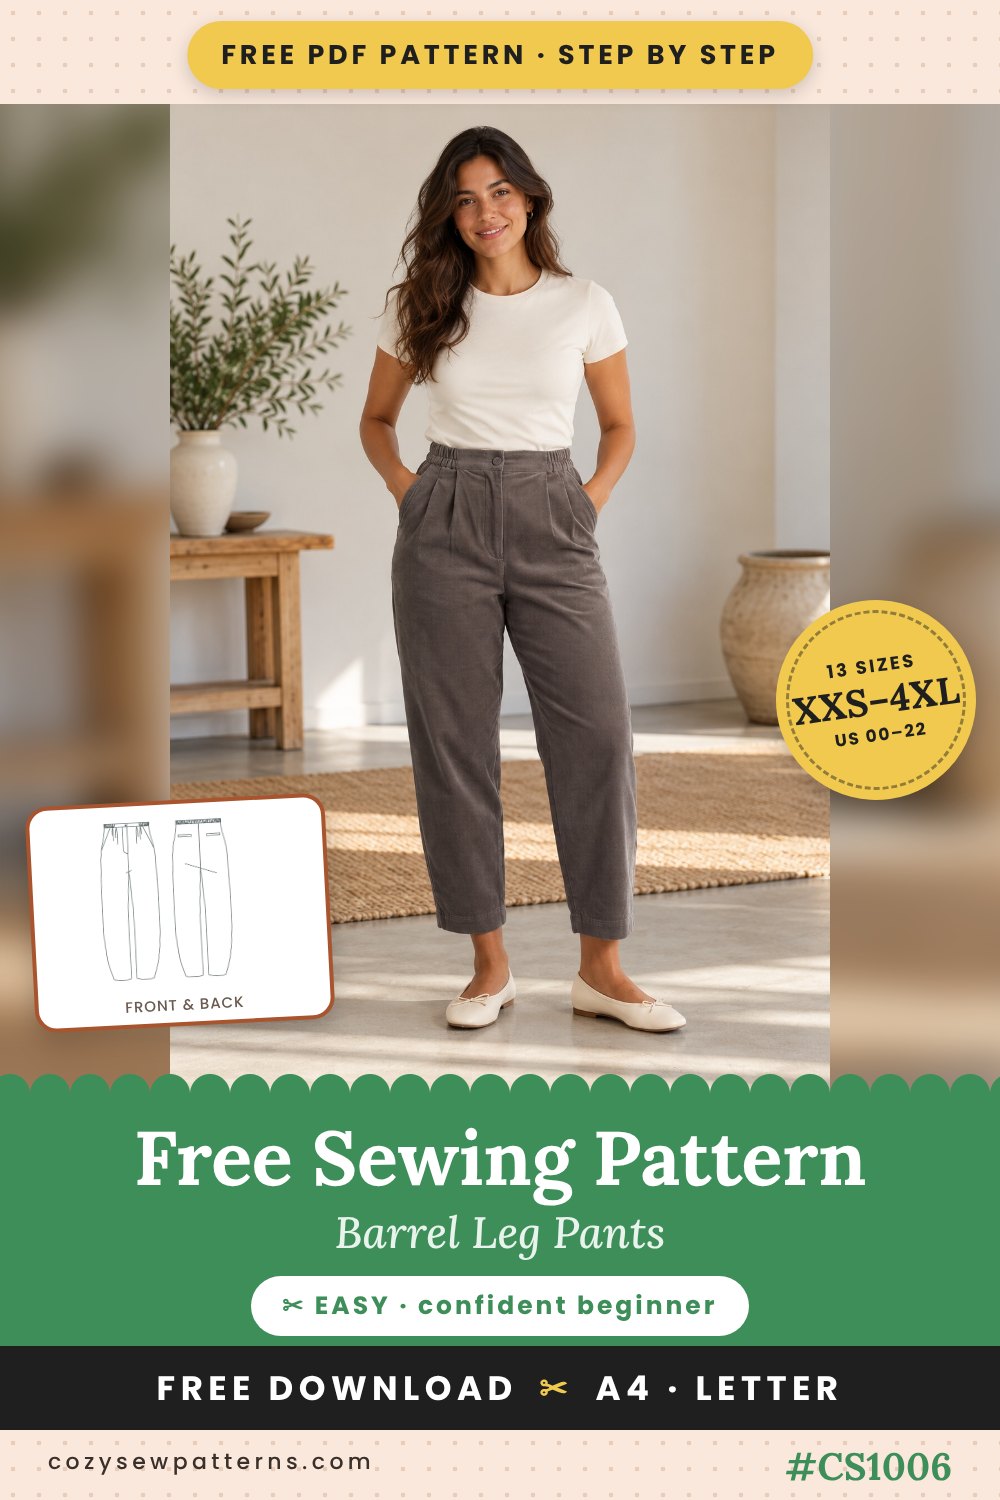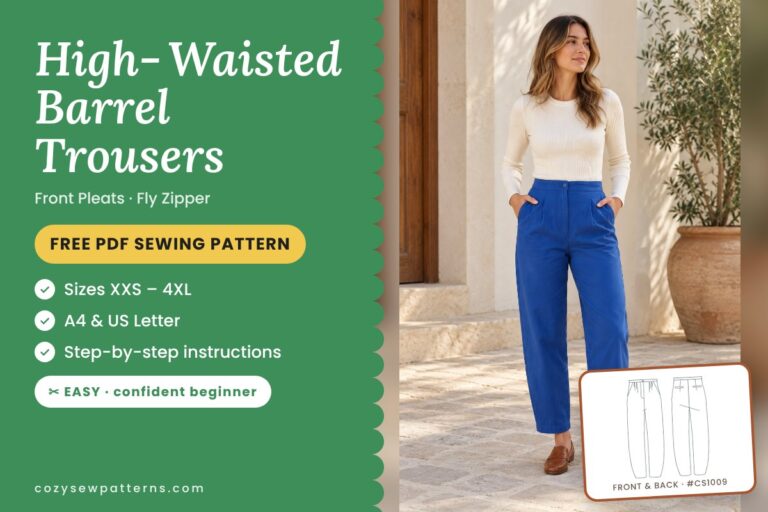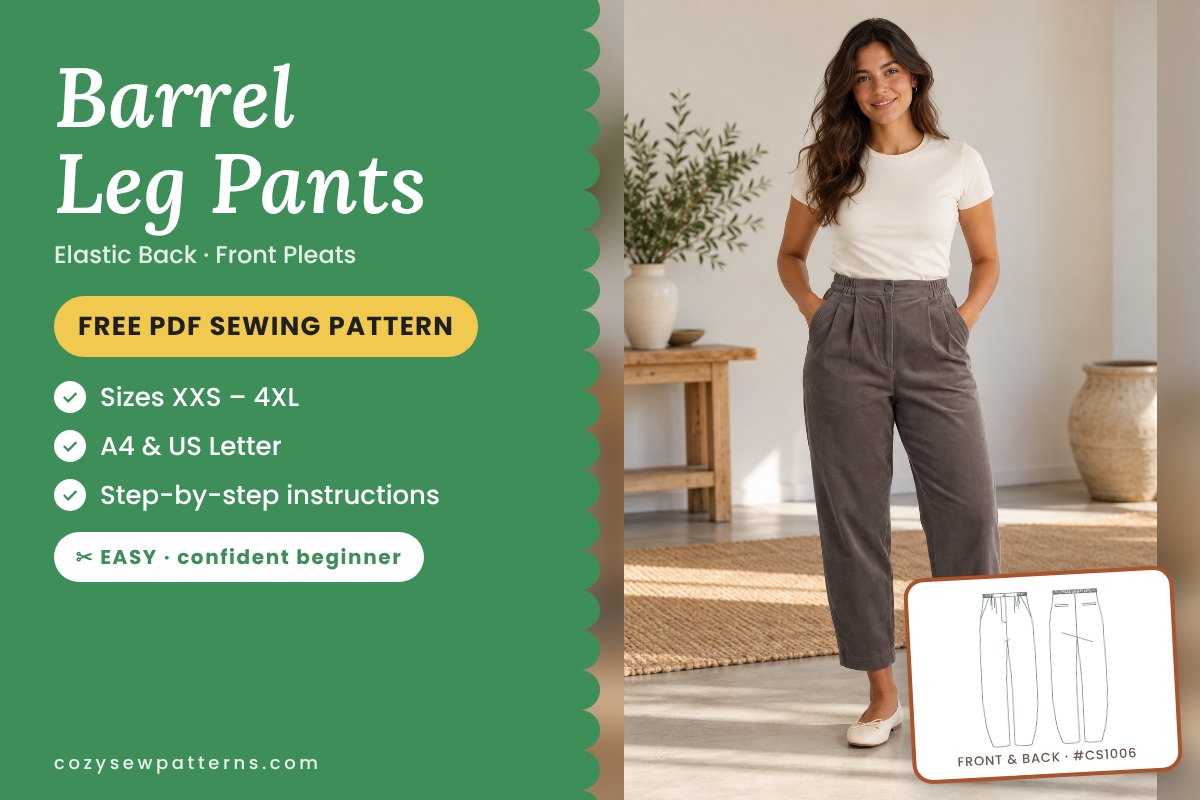
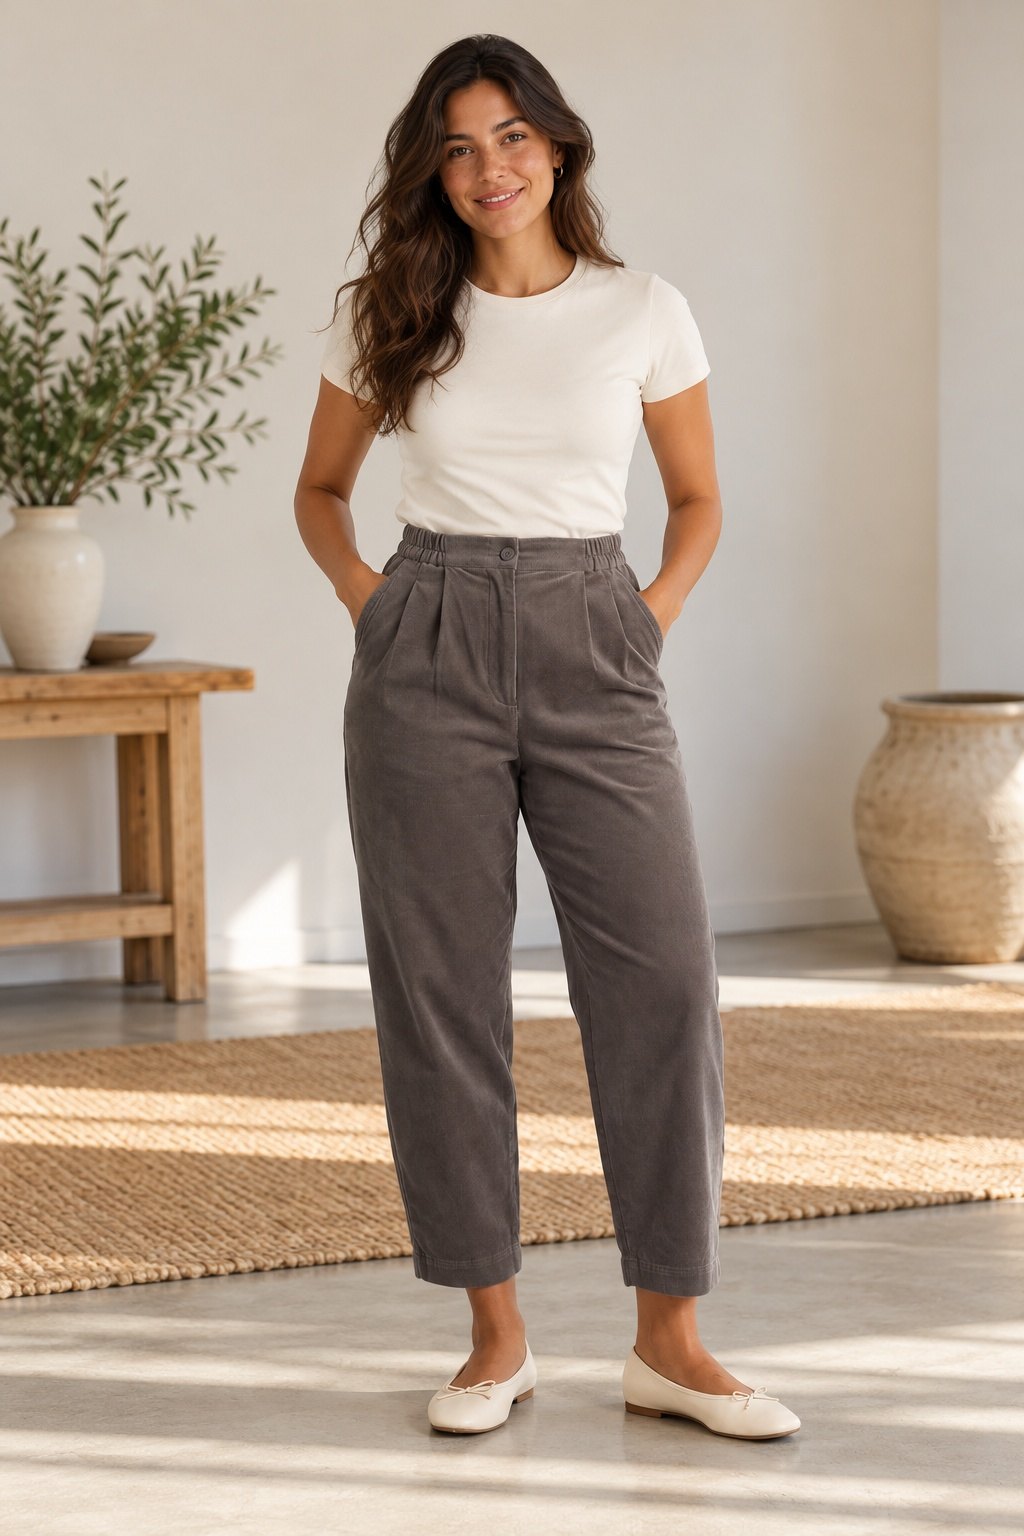
Relaxed, high-waisted trousers with the rounded barrel leg everyone is wearing: full through the knee and curving in to an ankle-length hem. Two soft pleats on each front shape the leg, slanted pockets sit at the hips and a neat welt pocket finishes each back. They close with a classic fly zipper and one button, and the waistband is flat at the front with elastic across the back for comfort.
Download the free PDF sewing pattern in A4 and US Letter, and sew your own barrel leg pants!
Materials
- Main fabric: 1.5–2.3 m (1 3/4–2 5/8 yd) of 150 cm (60″) wide fabric, or 2.3–2.5 m (2 5/8–2 3/4 yd) of 115 cm (45″) wide fabric. Choose a medium-weight woven with some body: cotton twill, light denim (6–9 oz), linen or linen blend, Tencel twill, soft wool suiting or fine-wale corduroy
- Pocket lining: 0.4 m (1/2 yd) of cotton poplin, lawn or pocketing
- Fusible interfacing: 0.3 m (3/8 yd), 90 cm (36″) wide
- Trouser zipper (closed end): 20 cm (8″) for sizes 00–10, 23 cm (9″) for sizes 12–22
- Elastic 3 cm (1 1/8″) wide, one 10–12 mm (3/8–1/2″) button and all-purpose thread
No stretch is needed. Avoid very drapey fabrics such as rayon challis or crepe: the barrel shape would collapse. Pre-wash your fabric and lining, because cotton and linen can shrink 3–5%.
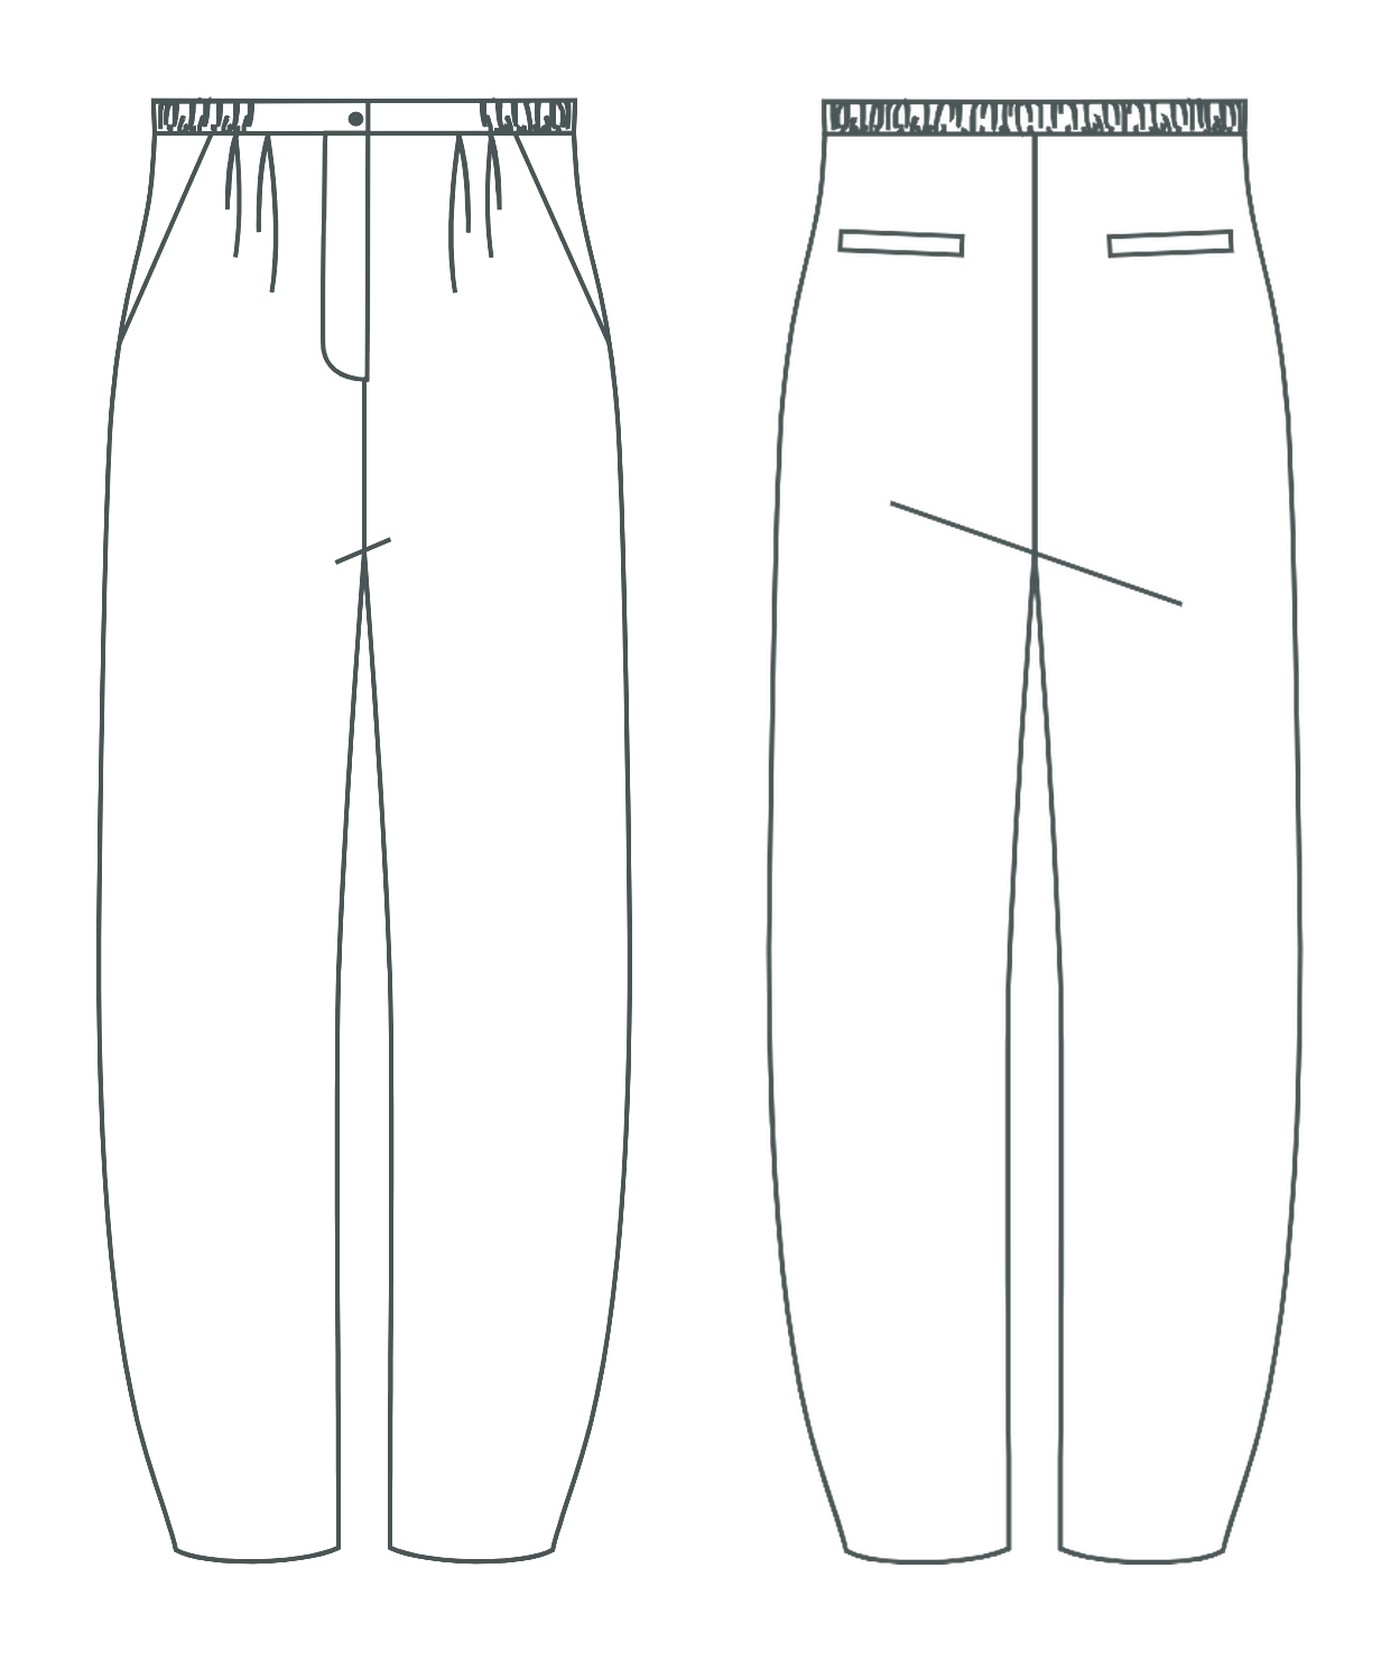
Pattern pieces
- Pants Front, main fabric: cut 2
- Pants Back, main fabric: cut 2
- Waistband, main fabric: cut 1
- Pocket Bag, main fabric: cut 2
- Fly Facing, main fabric: cut 1
- Pocket Lining, lining: cut 2
- Fly Interfacing: cut 1
- Waistband Interfacing: cut 2
- Back Pocket Welt, main fabric + interfacing: cut 2 + 2
- Back Inner Pocket Bag, lining: cut 2
- Back Outer Pocket Bag, lining: cut 2
Fold the fabric right sides together and keep every grainline parallel to the selvage to get mirrored pairs. Cut the left front along the inner line marked CUT ON LEFT FRONT, the right front along the outer edge. In sizes 20 and 22 the waistband is printed in two parts that you join before sewing.
💡 Not sure which fabric or length to choose? Read our Barrel Leg Pants fabric, fit and styling guide before you cut.
Download the free PDF sewing pattern
One file per size, in the paper format that suits you. Share your finished pants with #cozysewpatterns!
 A0 + Step-by-step guideGet it here ↓
Unzip the folder first. Print page 1 at 100% (actual size) and measure the 10 cm (4″) calibration square before printing the rest. Trim the margins and tape the pages together, matching the markers. The A0 file comes with the illustrated guide below.
Sizing guide
Drafted for a height of 1.68 m (5′6″) and an ankle length. Choose your size by hip measurement: the elastic back is forgiving at the waist. The barrel leg is roomy by design, so between two sizes take the smaller one for a neater fit or the larger one for a more relaxed look. Compare the inseam with a pair of trousers you like.
Letter sizes: 00 = XXS · 0/2 = XS · 4/6 = S · 8/10 = M · 12/14 = L · 16 = XL · 18 = 2XL · 20 = 3XL · 22 = 4XL
Body measurements (cm)
| cm | 00 | 0 | 2 | 4 | 6 | 8 | 10 | 12 | 14 | 16 | 18 | 20 | 22 |
|---|---|---|---|---|---|---|---|---|---|---|---|---|---|
| Waist | 63.5 | 66 | 68.75 | 71.25 | 73.75 | 76.25 | 78.75 | 82.75 | 87.5 | 93.25 | 99 | 104.75 | 110.5 |
| Hips | 87.75 | 90.25 | 92.75 | 95.25 | 98 | 100.25 | 102.75 | 106.5 | 111 | 115.5 | 120.75 | 125.75 | 130.75 |
Body measurements (inches)
| in | 00 | 0 | 2 | 4 | 6 | 8 | 10 | 12 | 14 | 16 | 18 | 20 | 22 |
|---|---|---|---|---|---|---|---|---|---|---|---|---|---|
| Waist | 25.0 | 26.0 | 27.1 | 28.1 | 29.0 | 30.0 | 31.0 | 32.6 | 34.4 | 36.7 | 39.0 | 41.2 | 43.5 |
| Hips | 34.5 | 35.5 | 36.5 | 37.5 | 38.6 | 39.5 | 40.5 | 41.9 | 43.7 | 45.5 | 47.5 | 49.5 | 51.5 |
Finished garment measurements (cm)
| cm | 00 | 0 | 2 | 4 | 6 | 8 | 10 | 12 | 14 | 16 | 18 | 20 | 22 |
|---|---|---|---|---|---|---|---|---|---|---|---|---|---|
| Waist relaxed | 62 | 64 | 66 | 68 | 70 | 72 | 74 | 77 | 81 | 85 | 89 | 93 | 98 |
| Waist stretched | 78 | 80 | 83 | 86 | 88 | 91 | 93 | 97 | 102 | 107 | 112 | 118 | 123 |
| Hips | 89 | 91 | 94 | 96 | 99 | 101 | 104 | 107 | 112 | 117 | 126 | 132 | 137 |
| Thigh | 58 | 59 | 60 | 62 | 64 | 65 | 67 | 69 | 72 | 75 | 80 | 84 | 87 |
| Knee | 47 | 48 | 49 | 50 | 52 | 53 | 54 | 56 | 58 | 60 | 64 | 67 | 70 |
| Hem opening | 34 | 34 | 36 | 36 | 37 | 38 | 39 | 40 | 41 | 43 | 45 | 46 | 48 |
| Inseam | 70 | 70 | 70 | 69 | 69 | 68 | 68 | 69 | 68 | 67 | 66 | 66 | 65 |
| Front rise | 29 | 29 | 29 | 29 | 30 | 30 | 30 | 31 | 32 | 32 | 33 | 34 | 34 |
| Back rise | 38 | 38 | 39 | 40 | 40 | 41 | 42 | 43 | 44 | 46 | 48 | 49 | 51 |
Fabric and notions per size
| 00 | 0 | 2 | 4 | 6 | 8 | 10 | 12 | 14 | 16 | 18 | 20 | 22 | |
|---|---|---|---|---|---|---|---|---|---|---|---|---|---|
| 150 cm / 60″ wide (m) | 1.5 | 1.5 | 1.5 | 1.5 | 1.5 | 2.1 | 2.1 | 2.1 | 2.1 | 2.3 | 2.3 | 2.3 | 2.3 |
| 115 cm / 45″ wide (m) | 2.3 | 2.3 | 2.3 | 2.3 | 2.3 | 2.3 | 2.3 | 2.3 | 2.3 | 2.5 | 2.5 | 2.5 | 2.5 |
| Lining (m) | 0.4 | 0.4 | 0.4 | 0.4 | 0.4 | 0.4 | 0.4 | 0.4 | 0.4 | 0.4 | 0.4 | 0.4 | 0.4 |
| Interfacing 90 cm / 36″ (m) | 0.3 | 0.3 | 0.3 | 0.3 | 0.3 | 0.3 | 0.3 | 0.3 | 0.3 | 0.3 | 0.3 | 0.3 | 0.3 |
| Zipper (cm) | 20 | 20 | 20 | 20 | 20 | 20 | 20 | 23 | 23 | 23 | 23 | 23 | 23 |
| Elastic 3 cm (cm) | 38.3 | 39.2 | 40.7 | 42 | 43.3 | 44.5 | 45.9 | 47.9 | 50.4 | 53.2 | 56.2 | 59.1 | 62 |
Sewing notes
Fit and style
High waist, curved barrel leg and ankle length. To shorten or lengthen, cut the front and back across at the knee notches, overlap or spread by the same amount and redraw the side and inner leg seams so the barrel curve stays smooth. Try the pants on before the waistband: it is the easiest moment to adjust the side seams.
Fabrics
The fabric needs some body to hold the rounded leg: twill, light denim, linen and wool suiting are perfect. Never press a sharp crease down the legs, the soft curve is the design.
Cutting out
Fuse the interfacing before you mark: waistband interfacing at both short ends (never on the elastic part), fly interfacing on the right front extension, and both welts. Mark the pleat lines, the back pocket box and the zipper stop.
Step-by-Step Sewing Instructions
Seam allowances are 1 cm (3/8″). Sew with right sides together and finish raw edges as you go. Left and right mean as the pants are worn.
- Fold and baste the front pleats.
- Sew the slanted front pockets and understitch the lining.
- Back welt pockets, part 1: make the welts and stitch the pocket box.
- Back welt pockets, part 2: cut the opening, turn the bags through and close them.
- Fly zipper, part 1: sew the crotch to the zipper stop and attach the zipper to the left front.
- Fly zipper, part 2: topstitch the fly and add the fly shield.
- Sew the inner leg and crotch seams.
- Sew the side seams and try the pants on.
- Make the elastic-back waistband and attach it.
- Make the buttonhole and sew on the button.
- Hem the legs, by machine or with a blind hem.
- Final press: press the pleats at the top only.
Stuck on a step? Sew it with pictures.
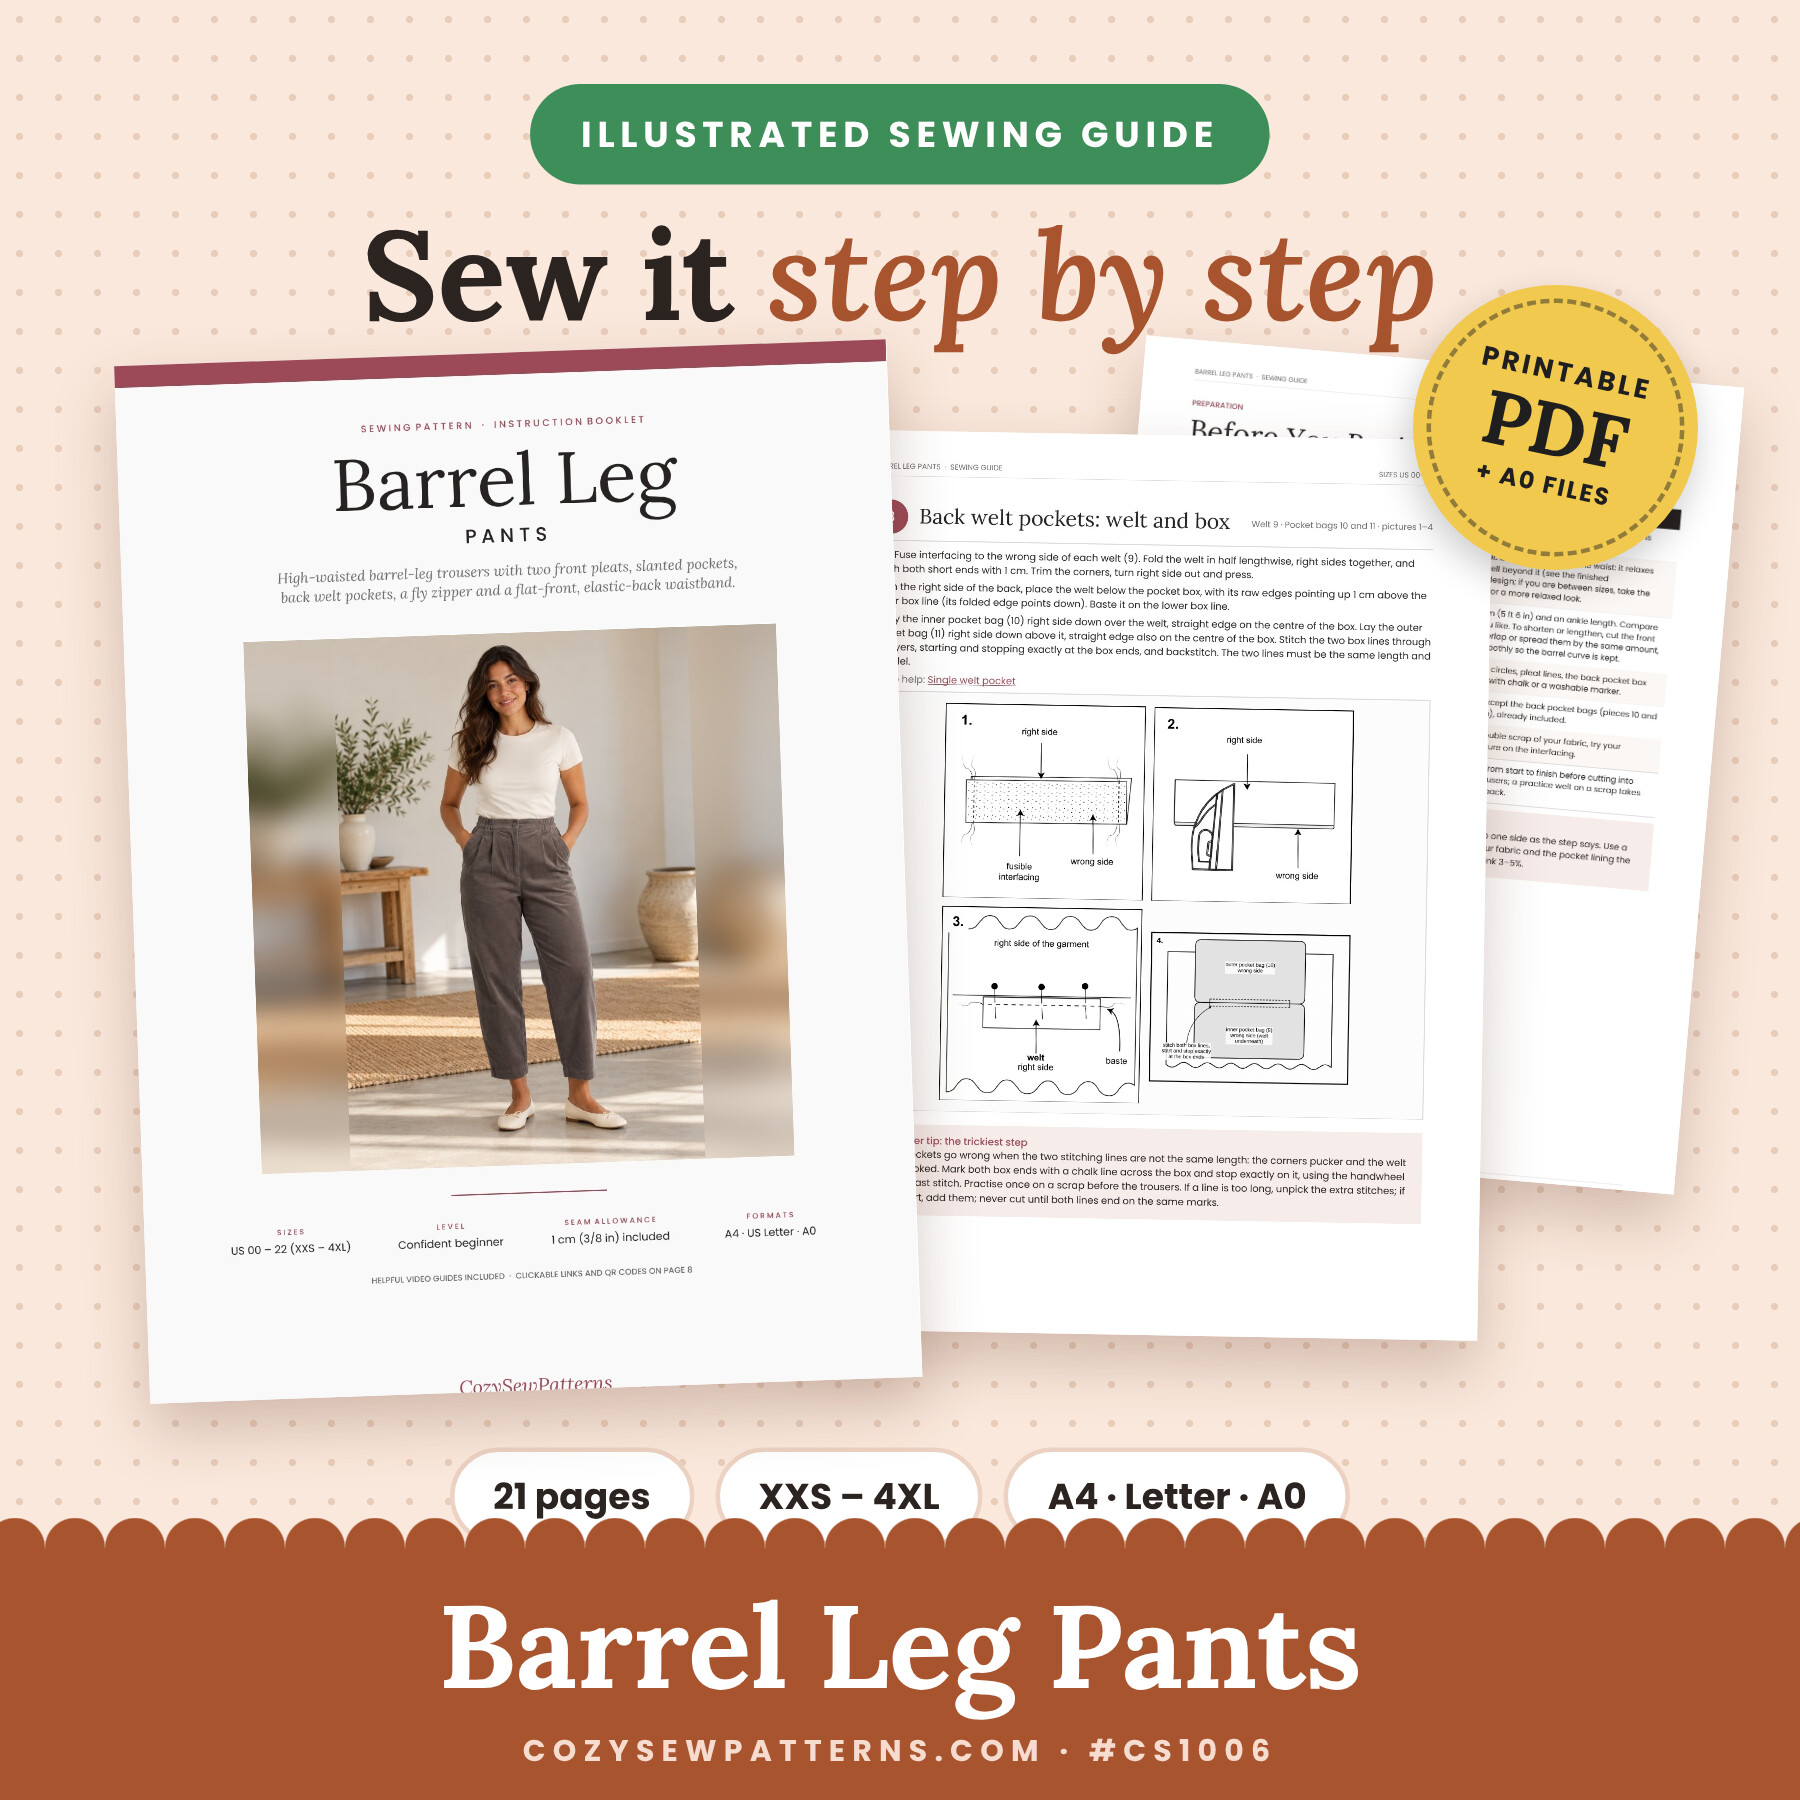
The steps above are a quick overview. The full illustrated guide walks you through every step with clear drawings: the pleats, the slanted pockets, the back welt pockets, the fly zipper and the half-elastic waistband. It also includes the A0 pattern file.
- Illustrated diagrams for every step
- Before-you-begin checklist and fit tips
- Video guides with QR codes for the key techniques
- A0 pattern file included
- Printable PDF, instant download
Español · Italiano · Deutsch · Français · Nederlands…
Buy the guide, then email us your language. Free, delivered in 48–72h.
♥ Every guide you buy keeps our patterns free.
Questions
Is the pattern really free?
Yes. The A4 and US Letter pattern files are free. The illustrated step-by-step guide and the A0 file are available for a small coffee.
Is the seam allowance included?
Yes: 1 cm (3/8″) on every seam, 1.5 cm (5/8″) on the back pocket bags and 2 cm (3/4″) at the hem.
Can a beginner sew these pants?
Yes, if you are comfortable with straight seams and pressing. The fly zipper and welt pockets are the slow parts: practise a welt on a scrap first and read those steps once before you start.
How much elastic do I need?
Only across the back waistband. The elastic length for each size is in the table above and is also printed on the waistband piece.
Happy sewing!