Look closely at a well-fitted coat, a fitted dress or a tailored vest and you will often see two long seams running from the shoulder or armhole down over the bust to the hem. Those are princess seams, one of the most flattering ways to shape a garment.
In this guide you will learn what princess seams are, why they fit so well, and how to sew them smoothly, without the puckers and tucks beginners worry about.
What is a princess seam?
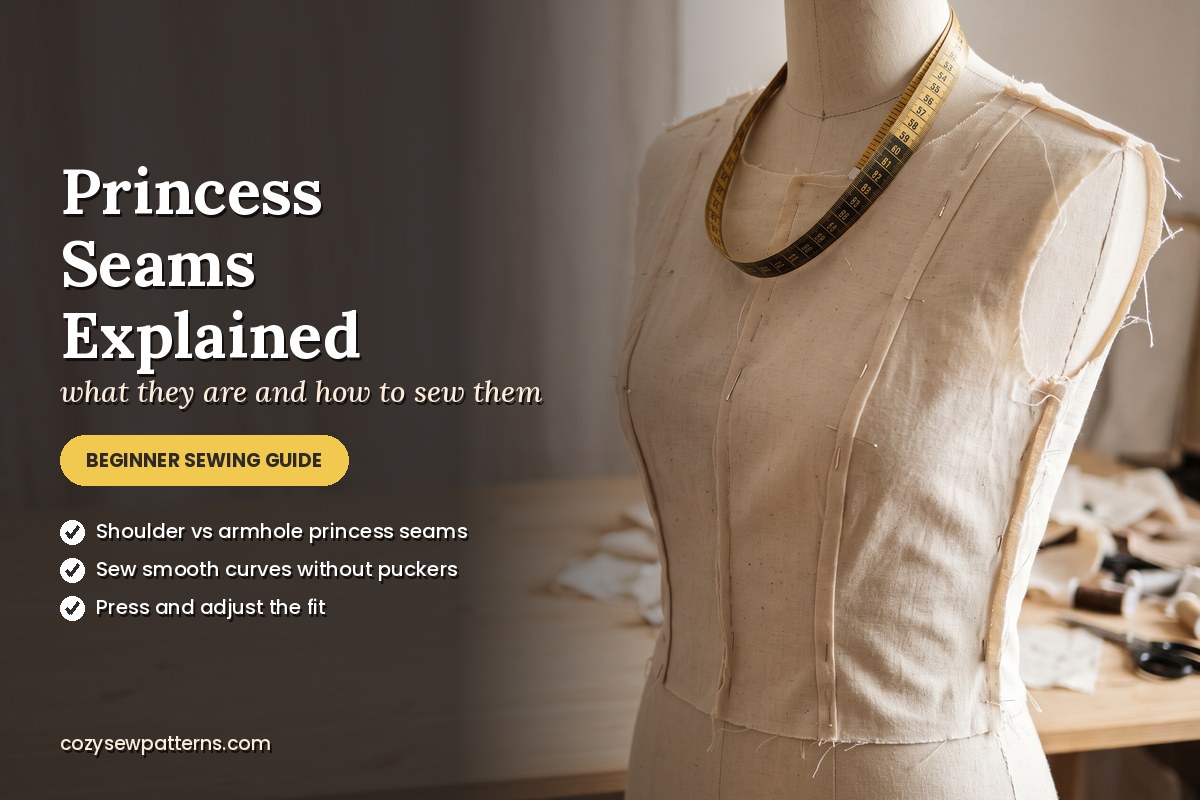
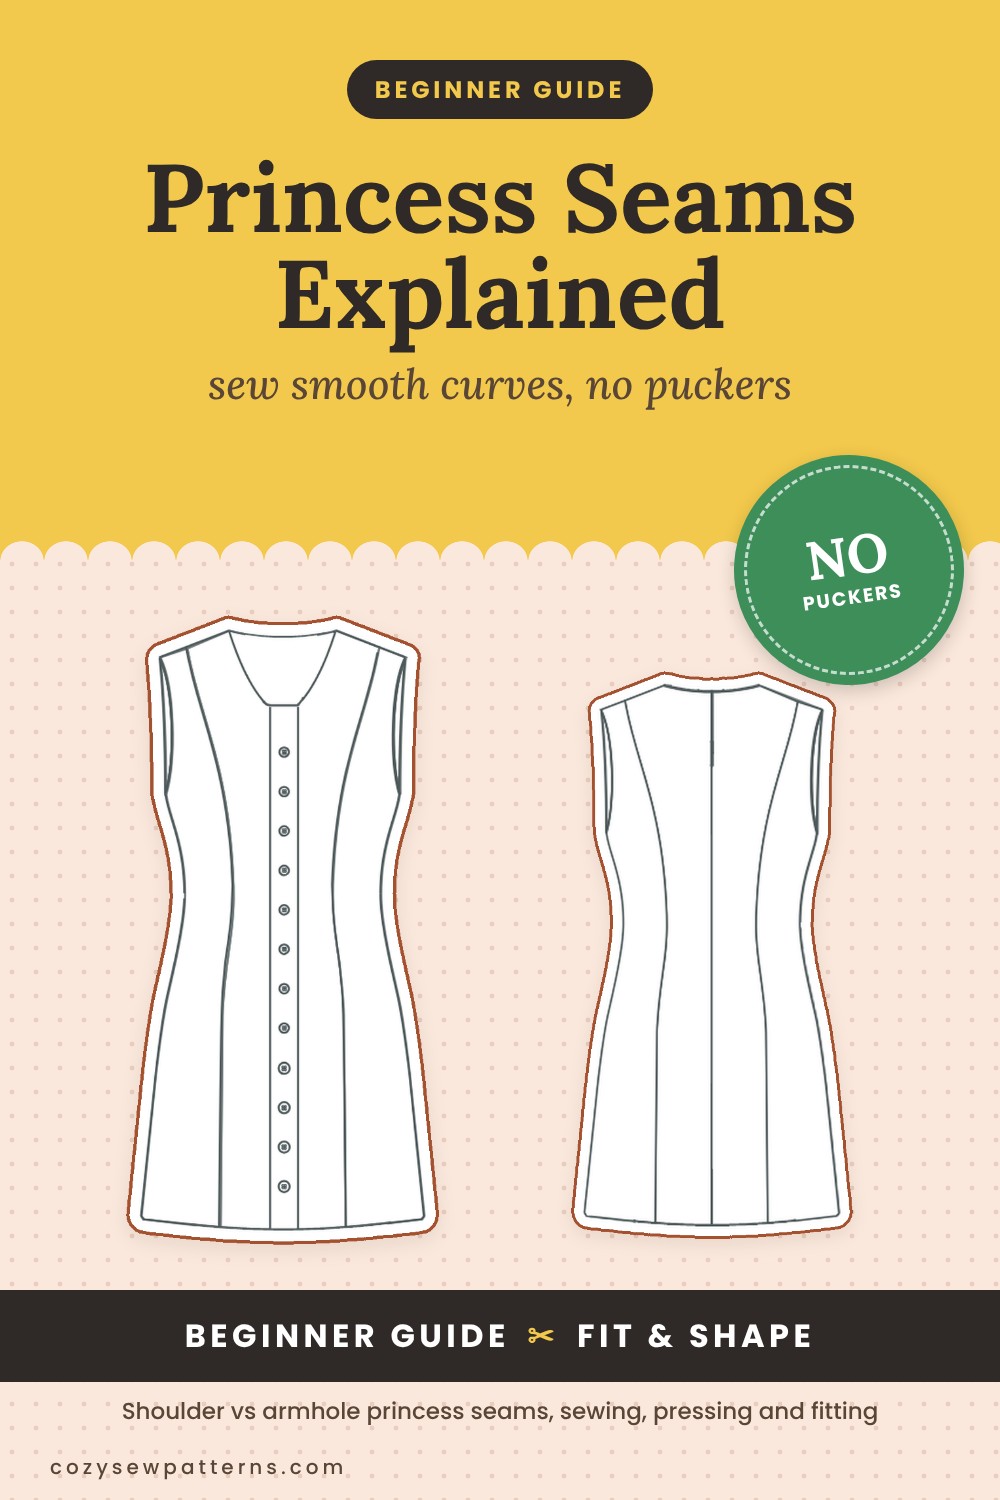
A princess seam is a long, curved seam that runs over the fullest part of the bust and down towards the waist and hem. Instead of using darts to shape the fabric, the front (and often the back) is cut into separate panels: a centre panel and a side panel. The shaping is built into the curves of the seam between them.
Shoulder vs armhole princess seams
| Type | Where it starts | Looks | Good for |
|---|---|---|---|
| Shoulder princess | Middle of the shoulder seam | Long, vertical, elongating line | Pinafores, sleeveless dresses, vests |
| Armhole princess | Front armhole, a little above the notch | Softer curve, more hidden | Coats, jackets, fitted dresses with sleeves |
Why princess seams fit so well
- Shaping in every direction: the seam follows the curve of the bust, waist and hips at once, so the garment skims the body smoothly.
- Easy to adjust: every princess seam is a place where you can take in or let out a little, at the bust, waist or hip.
- Flattering lines: long vertical seams draw the eye up and down and make a figure look longer.
- No dart points: there is no bulky or pointy dart tip at the bust.
How to sew a princess seam
The challenge is that the two edges curve in opposite directions: one is concave (curving in), the other convex (curving out). They are the same length on the seam line, but they look completely different flat on the table. Here is how to bring them together smoothly:
- Transfer every notch. Princess seams usually have several notches. They are your guide, so mark each one carefully.
- Staystitch the concave edge (the one that curves inwards) just inside the seam allowance, about 8 mm (5/16″) from the edge.
- Clip the concave edge along the curve, every 1.5–2 cm (5/8–3/4″), right up to the staystitching but not through it. This lets it open out and match the other curve.
- Pin at the notches first, then at the top and bottom, then in between. The clipped edge will spread to fit.
- Sew with the clipped piece on top so you can see and smooth out any little folds before they reach the needle.
- Go slowly. Stop every few centimetres with the needle down, lift the foot, and straighten the fabric ahead.
Pressing princess seams
Curved seams need a curved surface. Press princess seams over a tailor’s ham, or a tightly rolled towel, so the shape of the bust is kept. Press the seam flat as sewn first, then press it open. On the outward-curving part, you can notch small V shapes out of the seam allowance so it lies flat without ridges.
Adjusting the fit
- Too loose at the waist? Take in a few millimetres along each princess seam at the waist and blend back to the original line above and below.
- Tight over the bust? Let out the seam a little at the bust, within the seam allowance. For bigger adjustments, a full bust adjustment on a princess seam is easier than on a dart.
- Check before finishing. Baste the princess seams with a long stitch and try the garment on before you finish the edges.
Free patterns with princess seams
- Corduroy Pinafore Dress #CS1010: shoulder princess seams on the front and back. Easy level, a perfect first princess seam project.
- Mandarin Collar Coat #CS1001: a classic coat shaped with princess seams. Intermediate level.
Try your first princess seams
The free Corduroy Pinafore Dress is sleeveless, so you can focus on the princess seams without set-in sleeves. Sizes XXS–4XL, A4 and US Letter.
Frequently asked questions
What is a princess seam?
A long curved seam that runs from the shoulder or armhole over the bust and down towards the hem. It shapes the garment to the body instead of darts.
What is the difference between shoulder and armhole princess seams?
A shoulder princess seam starts at the middle of the shoulder seam and runs straight down, giving a long vertical line. An armhole princess seam starts in the front armhole and has a softer curve.
How do I sew princess seams without puckers?
Staystitch and clip the inward-curving edge, pin at every notch first, sew with the clipped piece on top and go slowly, straightening the fabric ahead of the needle.
Are princess seams hard for beginners?
Not if you match the notches and clip the curves. A sleeveless dress or pinafore is a good first project with princess seams.
Happy sewing!